Snipping tools allow MAC users to take screenshots or record screen video. In 2025, it will become an essential tool for the quick and efficient use of their devices. A snipping tool is necessary for every user whether for professional presentation or remote collaboration. However, finding the best snipping tool for Mac is a challenge for users.
That’s why we have come up with the top 7 Mac snipping tools in 2025. The advanced features of these tools will help you enhance your productivity. As a result, you will be able to maintain smooth communication in a fast-paced digital world.
Top 7 Snipping Tools for Mac in 2025
The list is prepared based on the number of features, user-friendliness, and customer reviews. These 7 tools have given the most satisfactory results among the most used 100 tools. Without further ado, let’s start.
1. Snagit: The Ultimate All-in-One Snipping Tool for Mac

Snagit is one of the highly reviewed snipping tools. It offers impressive features, including screenshots and video recording. It is considered an all-in-one snipping tool. Using this tool, you can capture a specific region or the entire screen. Additionally, it offers to capture the long web pages.
Video recording using this tool is super easy and convenient. You can record your screen at ease for creating how-to videos, software tutorials, or quick walkthroughs. It also allows the extraction of still images from recorded videos.
Snagit offers extensive editing tools. You will get tools like annotate, highlight, or blur parts of your screenshot. Moreover, using this tool, you can use templates for step-by-step guides or process documentation. It even has features for turning short video clips into GIFs for easy sharing.
2. Lightshot: Best Free Snipping Tool for Mac

Lightshot is the best free snipping tool. It helps Mac users quickly snip the screen and annotate it. Also, using this tool, you can share the capture screen instantly. It allows you to add arrows, text, and shapes directly to your screenshot. These simple annotation tools are perfect for quick edits.
There is a direct share option available for captured images. You can generate a shareable link or directly upload the images to social media. It offers the ability to search for similar images on Google directly from the tool. It is a handy feature for quickly finding information.
Lightshot is easy to use and a very fast screen capture tool. If you want to avoid difficulty in capturing the screen, this can be the best option for you.
Try Lightshot for fast and simple screen capturing.
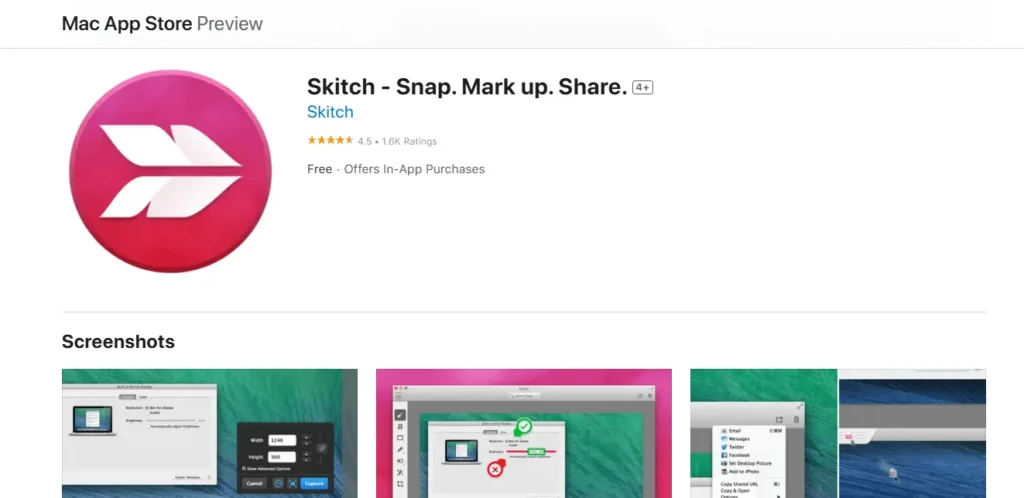
3. Skitch: Quick Annotations & Easy Screenshot Sharing

Skitch is a product of Evernote, which is an impressive screenshot tool for Mac. It allows capturing the screen and quickly annotating the captured images.
The most significant fact about Skitch is that you do not need any advanced tools to edit the captured images. So, if you need to provide quick feedback or perform a collaborative task, this program can help you with annotated screenshots.
Using this snipping tool, you can add arrows, text, shapes, and highlights to focus on a particular area of the image. It helps Mac users with fast markups. Additionally, Skitch offers a Blur Sensitive feature. So, you can protect sensitive data by blurring portions of your screenshot.
The program is integrated with Evernote. So, you can organize and store your screenshots alongside your notes and documents.
4. Monosnap: Screen Capture with Cloud Storage

Monosnap is another free snipping tool app for Mac that offers extensive features beyond just snipping the screen. Using this application, you can take screenshots, record videos, and manage cloud storage. Here you will get both image and video capture with built-in editing tools.
Monosnap allows you to capture the screen in HD. That’s why this tool is ideal for tutorials, walkthroughs, or presentations. You can control the area of snipping. Thus, you can perform voiceover commentary using a microphone.
Furthermore, this tool allows you to add text, arrows, and shapes. The blur tool helps to protect sensitive information. Then, you can save the screenshots in the cloud. It offers storage for the users. The file manager allows you to organize files. Also, you can convert short videos into GIFs for easy sharing.
5. Greenshot: Simple and Free Snipping Tool for Mac

Greenshot is a free snipping tool. This tool is a simple but efficient one for capturing screens on Mac and performing basic editing. Also, you will get a sharing option to share the captured screen directly. It allows quick communication.
Like other snipping tools in the list, Greenshot also offers flexible screen-capturing features. Here you will get the annotation and editing tools to highlight the main points of the captured image and the video.
Greenshot also allows integration with other image editing tools like Photoshop or GIMP. Thus, you can adjust the editing. There is also a built-in file manager to organize the screenshots.
6. CleanShot X: Premium Mac Snipping with Advanced Features

CleanShot X is another premium snipping tool for Mac that provides advanced screen recording services. This program is designed for both the newbies and the professionals. The easy-to-use, sleek design will help in your detailed annotation, quick sharing, and organization.
One of the key features of CleanShot X is the multiple capture mode. It allows the capture of specific regions or the entire screen. Also, you can capture a long webpage. Moreover, it allows recording of videos with system audio or external microphones. As a result, you can also record audio while recording the screen. Additionally, the 60 60 fps screen recording allows the creation of perfect video.
CleanShot X has a high-quality editing tool. You can add text, shapes, arrows, highlights, and a blur tool to the captured image or the video.
Discover CleanShot X’s full features and pricing here.
7. Capto: Screen Recording & Video Editing for Creators

Capto is a popular tool for screen capturing and video recording. It is useful for educators, content creators, and developers. Also, professionals use this tool for tutorial-type video editing. Using this tool, you can capture the entire screen or a selected region. Like other tools, you can also use it for capturing scrolling content.
This tool allows you to record your screen with high resolution, with webcam integration and voiceover recording. Moreover, there is an advanced editing tool to make quick adjustments to the video or image. You will get features like trimming, cropping, adding annotations, and inserting audio tracks.
Capto also has a file manager to save the files. It helps users organize screenshots and videos into folders, tag files, and easily access past captures. Using this tool, you can save the files directly to Google Drive, YouTube, Dropbox, and social media platforms.
Final Thoughts
So, these are the 7 most-used snipping tools for Mac. You can use any of them to capture your screen. Snagit is the best one on the list. Also, it has got positive reviews in all the categories in the list. However, Snagit is a premium tool. If you want a free snipping tool, you can use Lightshot, Monosnap, or Greenshot.
FAQ | Snipping Tool for Mac
To capture the entire screen: Command (⌘) + Shift + 3.
To capture a specific portion of the screen: Command (⌘) + Shift + 4.
Capture a Specific Window: Command (⌘) + Shift + 4, then press Spacebar.
Alt on Mac is known as the Option key. It works similarly to the Alt key on Windows keyboards. It is helpful in various keyboard shortcuts for special characters and system functions.

