Photoshop is one of the most powerful tools for professional photo editing, retouching, background removal, and color correction. Using the right techniques, you can turn ordinary images into high-quality visuals suitable for ecommerce, photography, and digital marketing.
In this guide, you’ll learn about essential Photoshop features that improve image quality, enhance colors, refine details, and help create clean, professional results.
What Are the Most Useful Photoshop CC Features for Photo Editing?
The most useful Photoshop CC features for photo editing include Content-Aware Fill for object removal, Select Subject for quick background selection, Camera Raw Filter for color correction, improved masking tools for hair and edges, and Blend Modes for lighting adjustments. These tools help professionals edit images faster and more accurately.
Top Photoshop CC Features Used by Professional Photo Editors
Below are the top Photoshop CC features professional photo editors use most often:
- Content-Aware Fill – Removes unwanted objects naturally
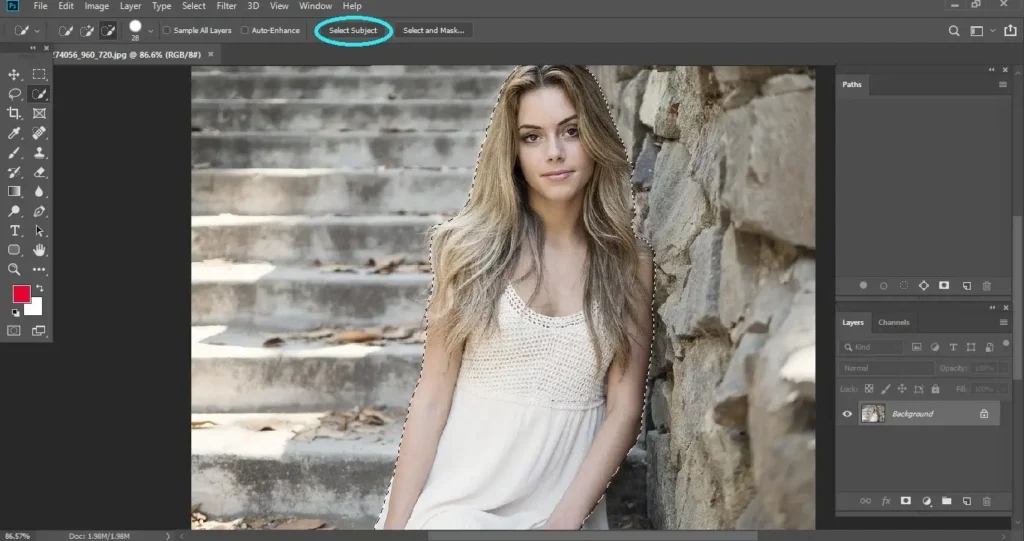
- Select Subject – Speeds up background selection
- Camera Raw Filter – Improves color and lighting
- Refine Edge & Masking Tools – Enhances hair and edge selections
- Blend Modes – Creates realistic light and color effects
- Frame Tool – Helps design layouts and marketing visuals
What Is Content-Aware Fill in Photoshop?
Content-Aware Fill is a powerful Photoshop tool used to remove unwanted objects from an image while automatically filling the background to match the surrounding area. It helps editors clean up product photos, portraits, and commercial images quickly while keeping the result natural. This tool is widely used in ecommerce editing and professional background removal services.
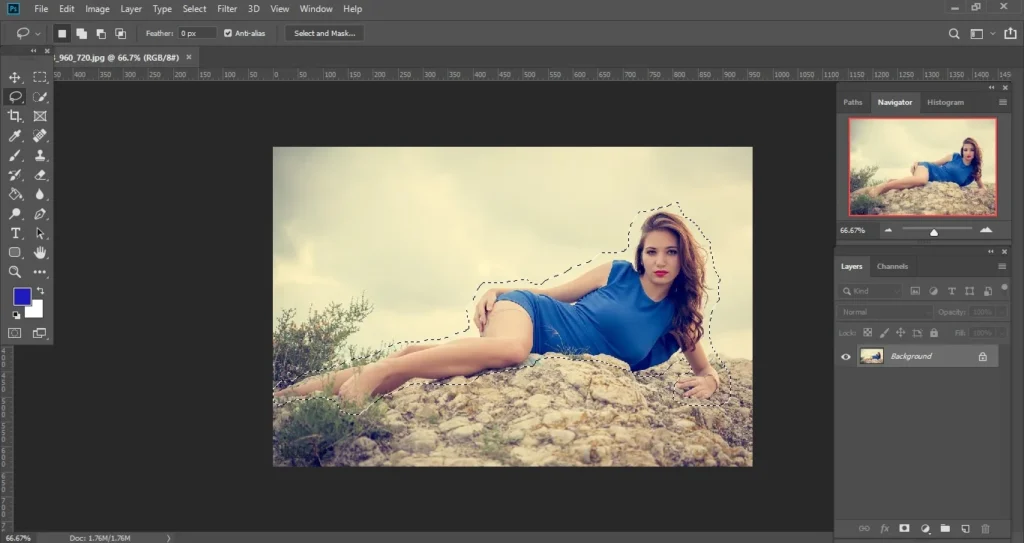
To use Content-Aware Fill, first make a rough selection around the object you want to remove using the Lasso Tool or any selection tool. Before making changes, create a duplicate layer by pressing Ctrl+J (Windows) or Command+J (Mac) to keep the original image safe.
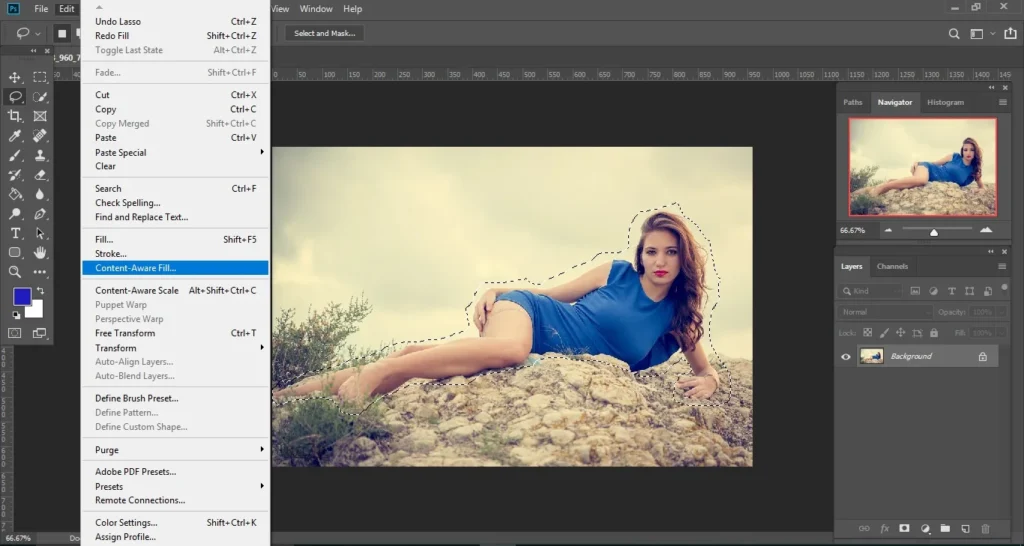
After making the selection, go to Edit → Fill and choose Content-Aware. Click OK, and Photoshop will automatically remove the selected object while intelligently filling the area to match the surrounding background.
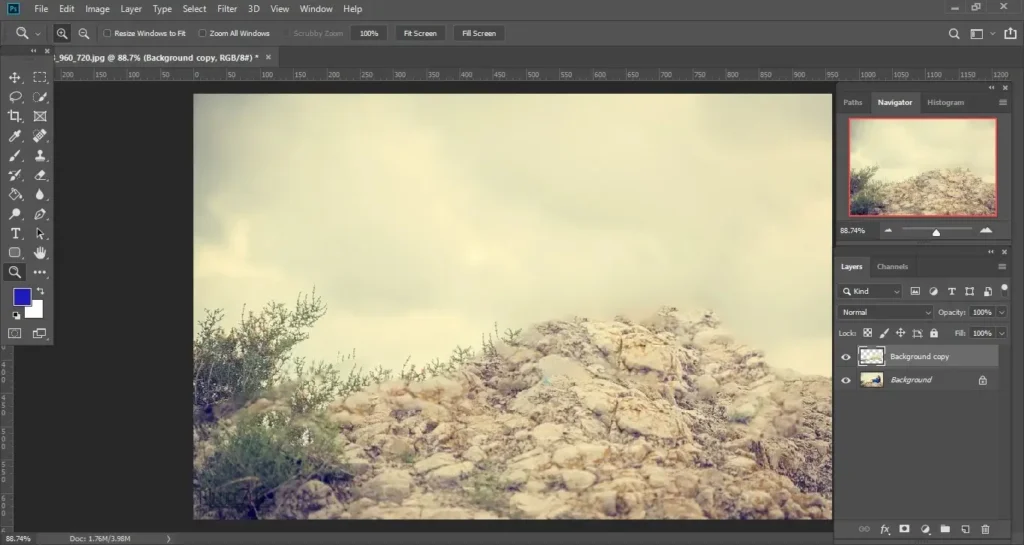
Using the Content-Aware Fill Workspace
In Photoshop CC, the Content-Aware Fill workspace provides more control over how the removed area is filled. After selecting an object, go to Edit → Content-Aware Fill to open a preview panel.

The green overlay shows the sampling area Photoshop uses to generate the fill. You can adjust this area to improve the result, especially when editing product or portrait images.
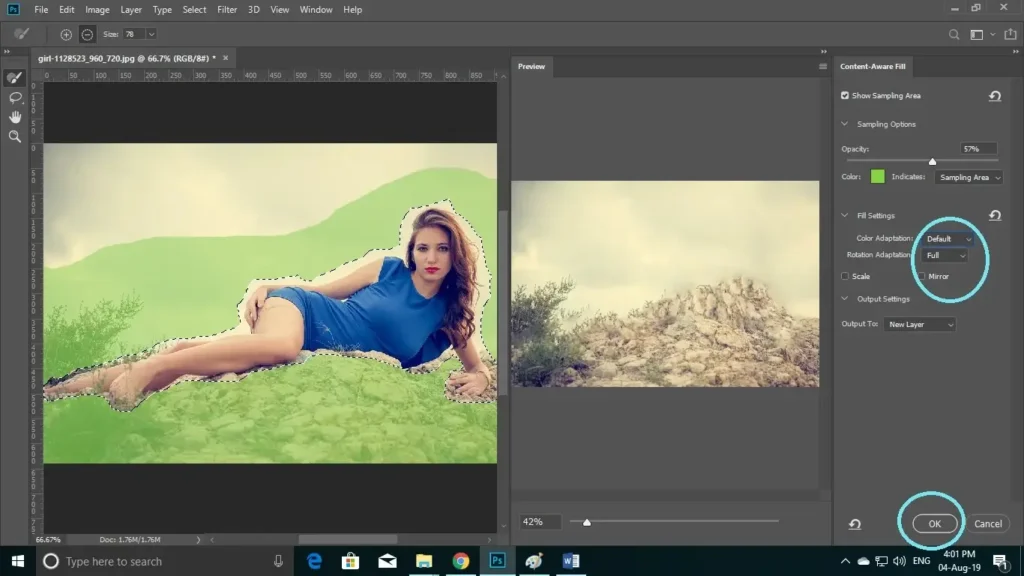
You can also adjust options like Color Adaptation and Rotation Adaptation to improve how the filled area blends with the background. Use the preview panel to check the result, and once you are satisfied, click OK to apply the changes.
What Is Auto-Commit in Photoshop and Why Does It Matter?
Auto-Commit in Photoshop automatically applies transformations like resizing, cropping, or placing objects when you switch to another tool. This removes the need to manually confirm each action, making editing workflows faster and smoother.
In earlier versions of Photoshop, a confirmation dialog would appear after a transformation, asking whether you wanted to apply the changes before using another tool. This extra step often slowed down the workflow. With Auto-Commit, Photoshop applies the changes instantly, allowing you to continue editing without interruption.

For example, after resizing a shape or object, you can switch to another tool like the Brush Tool, and Photoshop will apply the transformation automatically. This speeds up the editing process.

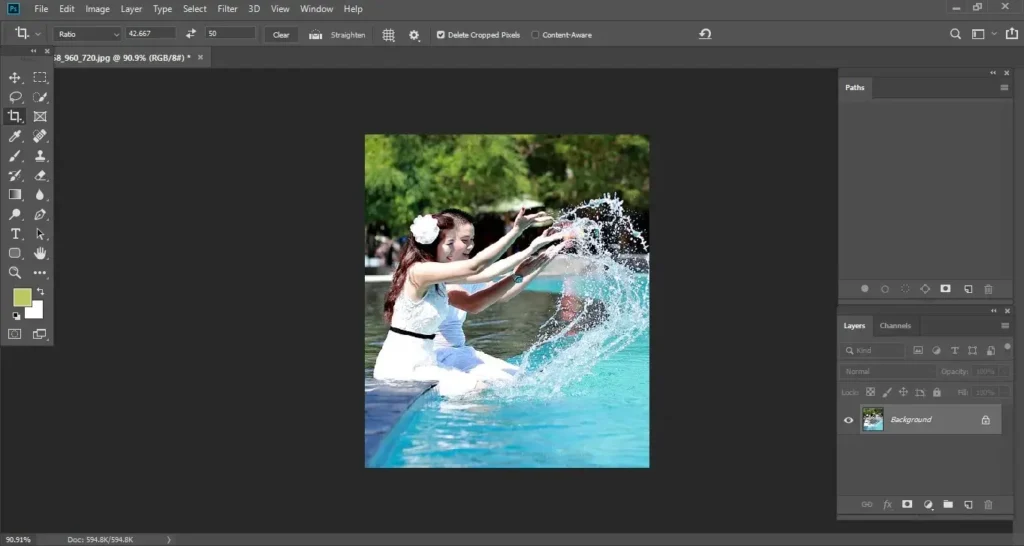
The same applies to the Crop Tool. After cropping an image, you can switch to another tool, and Photoshop will automatically apply the crop without requiring extra confirmation.
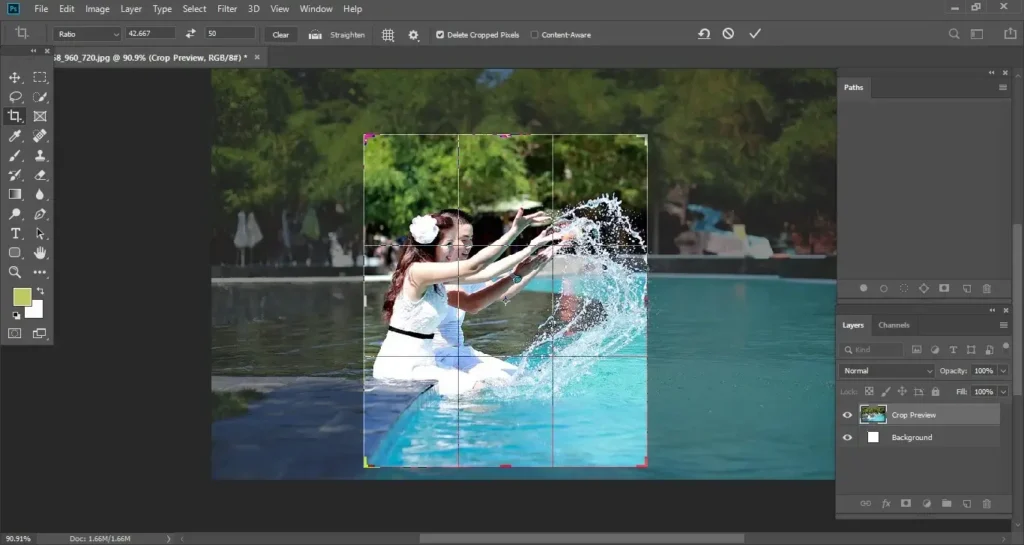
You can press C to activate the Crop Tool. Once you crop the image, simply switch to another tool, and Photoshop will apply the crop automatically, helping you continue editing without interruption.
This also works when placing images or logos. Simply drag, position, and move to another tool, and Photoshop will apply the placement automatically so you can continue editing smoothly.
What Is the Color Wheel in Photoshop Used For?
The Color Wheel in Photoshop is a visual color selection tool that helps editors choose harmonious and contrasting colors quickly. It is especially useful in photo retouching, fashion editing, and creative color grading. To open the Color Wheel, go to Window → Color, then click the panel menu icon and choose Color Wheel if it is not already visible.
How to Use the Color Wheel for Color Adjustments
Select your subject using any selection tool.
After selecting the subject, invert the selection using Ctrl+Shift+I (Windows) or Command+Shift+I (Mac) to target the background instead. Next, create a Solid Color Adjustment Layer and choose a color from the Color Wheel. Change the blend mode from Normal to Color so the new tone blends naturally with the image.
Use the Color Wheel to pick a color that contrasts or complements the subject. You can see your selected color highlighted within the wheel interface.
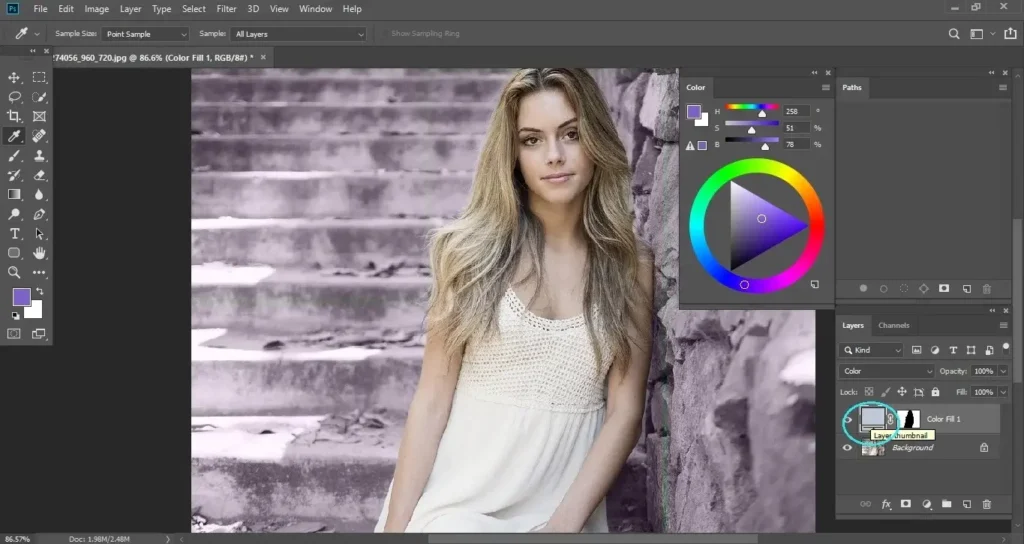
You can drag around the Color Wheel to choose a complementary or contrasting color that makes the subject stand out. Additional controls above the wheel allow you to fine-tune the tone and intensity.
After selecting your color, double-click the Adjustment Layer thumbnail to reopen the color settings if needed. You can also reduce the layer opacity to create a more subtle and natural color effect.
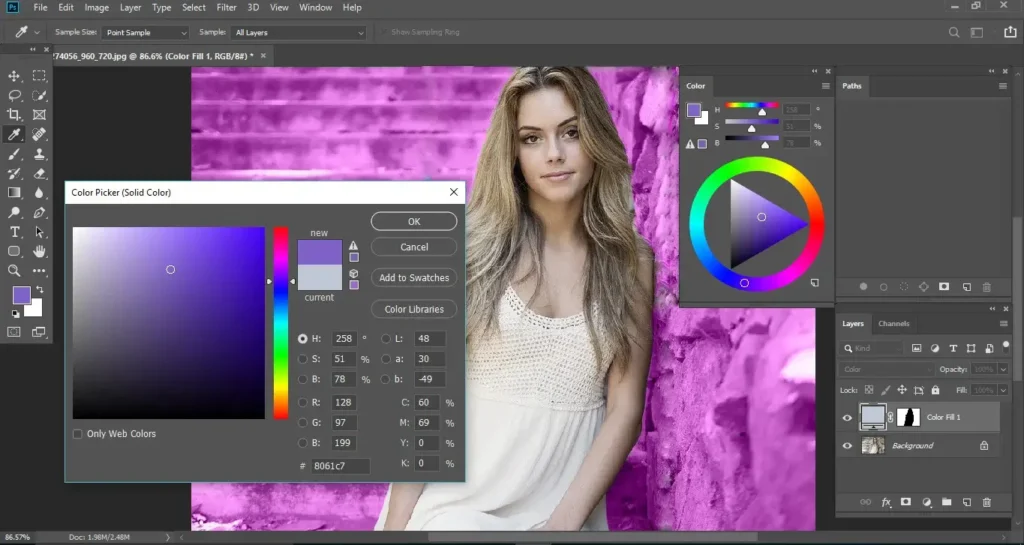
Saving Colors for Future Use
If you find a color you like, you can save it as a swatch by clicking Add to Swatches in the Color panel. This helps maintain consistent color tones across multiple images in a project.
Professional Editing Use Case
The Color Wheel helps professional editors maintain color harmony in portraits, fashion photos, and product images, especially when adjusting background tones or creative color effects.
What Is the Frame Tool in Photoshop?
The Frame Tool in Photoshop allows you to place images inside predefined shapes or placeholders. It is especially useful for creating marketing layouts, banners, product mockups, and social media designs.
You can find the Frame Tool grouped with the Crop Tool in the toolbar. Simply draw a frame on your canvas, then drag and drop an image into it. Photoshop will automatically fit the image inside the frame.
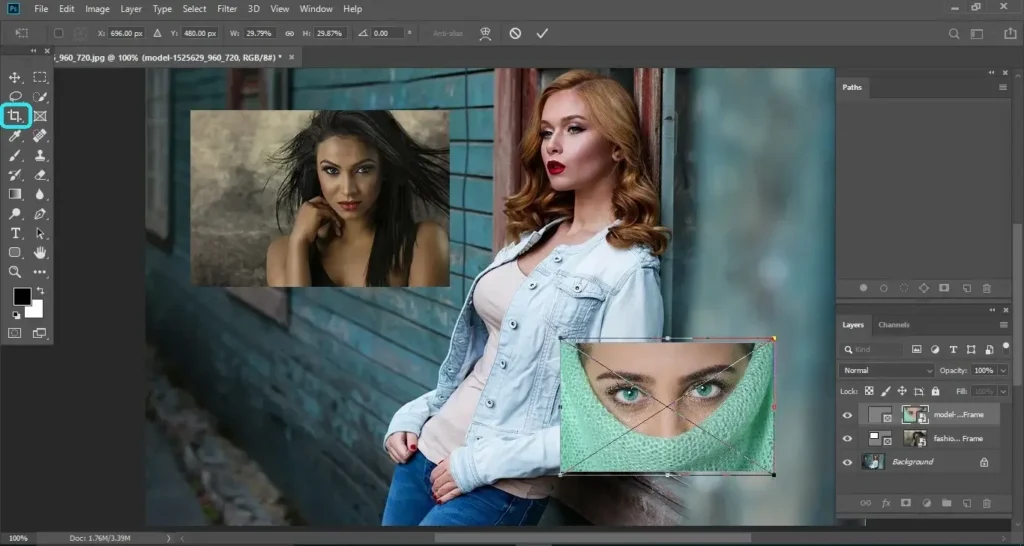
How to Adjust Images Inside a Frame
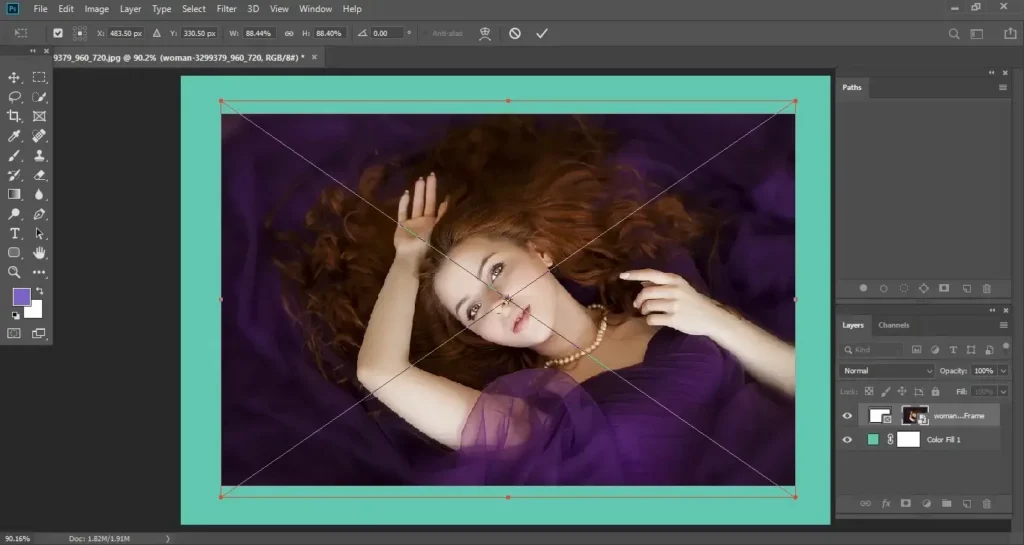
To resize the image inside the frame, select the image layer and press Ctrl+T (Windows) or Command+T (Mac) to transform it. To resize the frame itself, select the frame layer and use the transform controls to adjust its size and shape.
You can also enable guides using Ctrl+; (Windows) or Command+; (Mac) to help align frames more precisely within your layout.
Professional Editing Use Case
The Frame Tool helps designers and editors quickly prepare promotional graphics, ecommerce banners, and catalog layouts where multiple images need to fit into structured design templates.
How Does the Reference Point Help in Transforming Objects?
The reference point in Photoshop helps you control how an object rotates or resizes during transformation. By changing the reference point, you can adjust the pivot location, which affects how the object scales or rotates.
To transform an object, press Ctrl+T (Windows) or Command+T (Mac) to activate Free Transform. If the reference point is not visible, click the Toggle Reference Point option in the top toolbar.
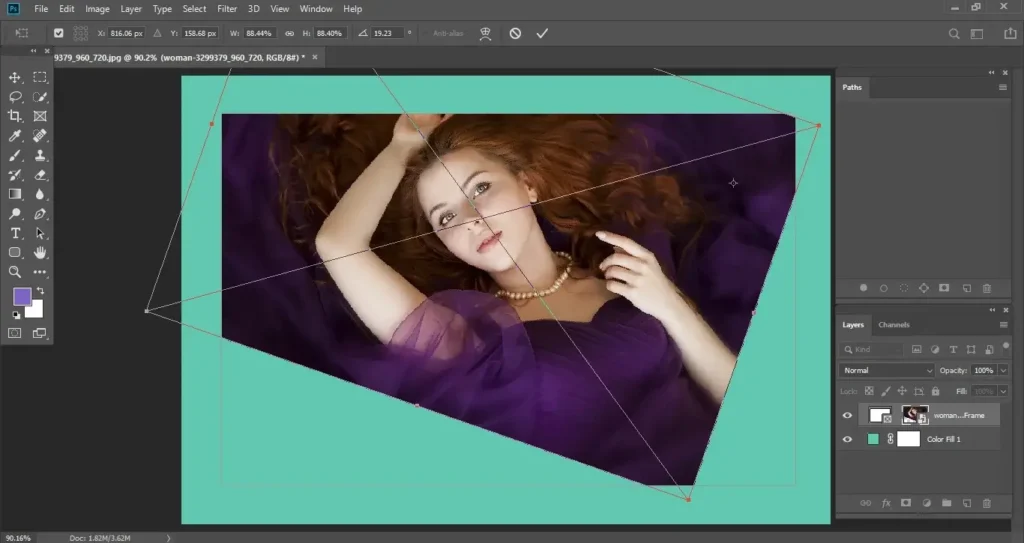
You can drag the reference point to any position within or outside the object. When you rotate or scale the object, Photoshop will use that point as the center of transformation.
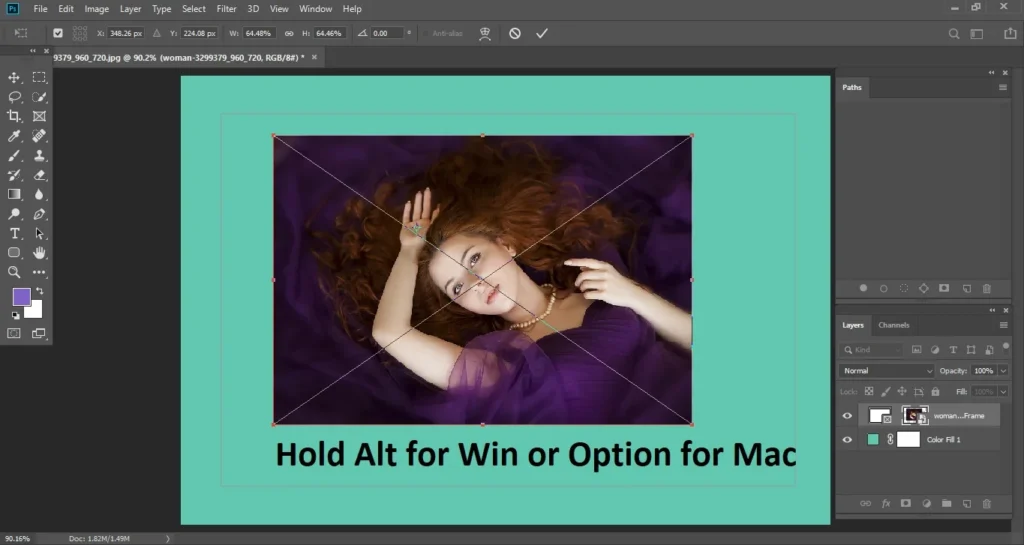
Resizing from the Reference Point
To resize proportionally from the chosen reference point, hold Alt (Windows) or Option (Mac) while dragging a corner handle. This keeps the reference point fixed while the object scales relative to it.
Professional Editing Use Case
Editors use the reference point when precisely positioning shadows, reflections, logos, or design elements that need to rotate or scale from a specific anchor point.
What Is the Lock Workspace Feature in Photoshop?
The Lock Workspace feature in Photoshop prevents panels and tool windows from being accidentally moved while you work. This helps maintain a consistent layout, especially during long editing sessions.
When working with panels like Layers, Paths, Channels, or Color tools, it’s easy to shift or rearrange windows unintentionally. Enabling Lock Workspace keeps your panel arrangement fixed so you can focus on editing without distractions.
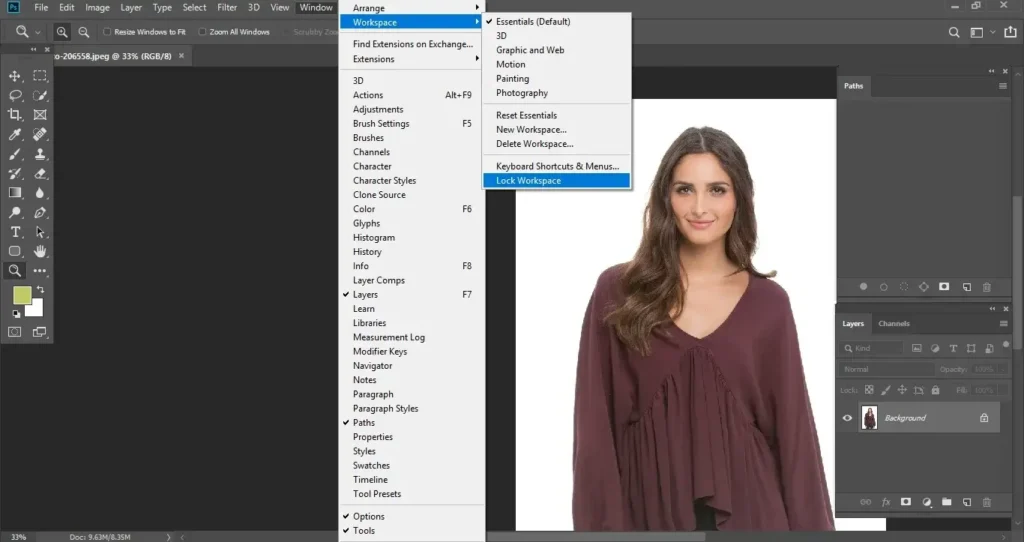
How to Enable Lock Workspace
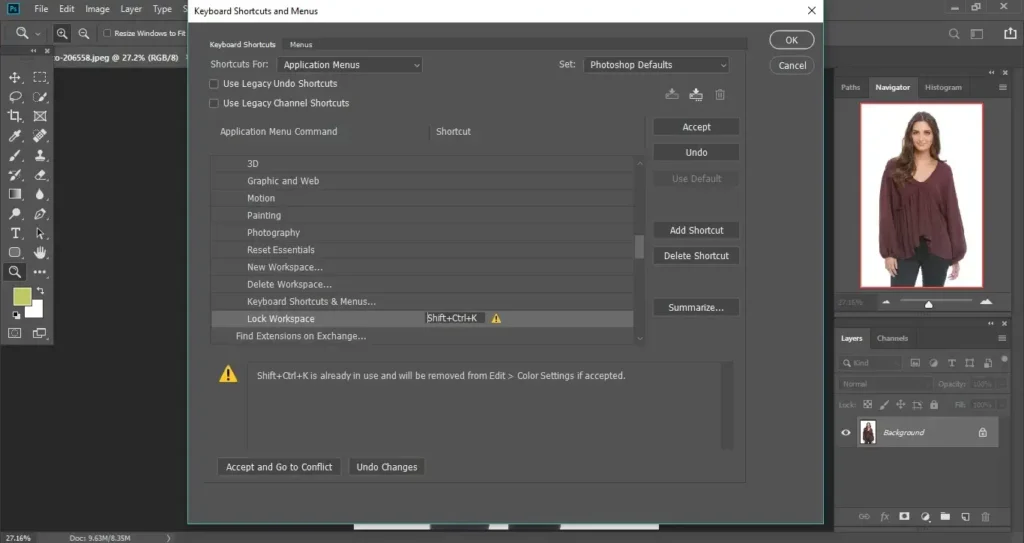
You can turn this feature on from the workspace options. If you prefer, you can also assign a custom shortcut. Go to Edit → Keyboard Shortcuts. Find Lock Workspace in the menu list. Assign your preferred shortcut key.
Lock Workspace prevents panels from being moved, but some panels may still be resized. This means you can adjust panel size, even though its position stays fixed.
Professional Editing Use Case
This feature is helpful for editors who work with multiple panels open, such as during detailed retouching, masking, or color correction tasks.
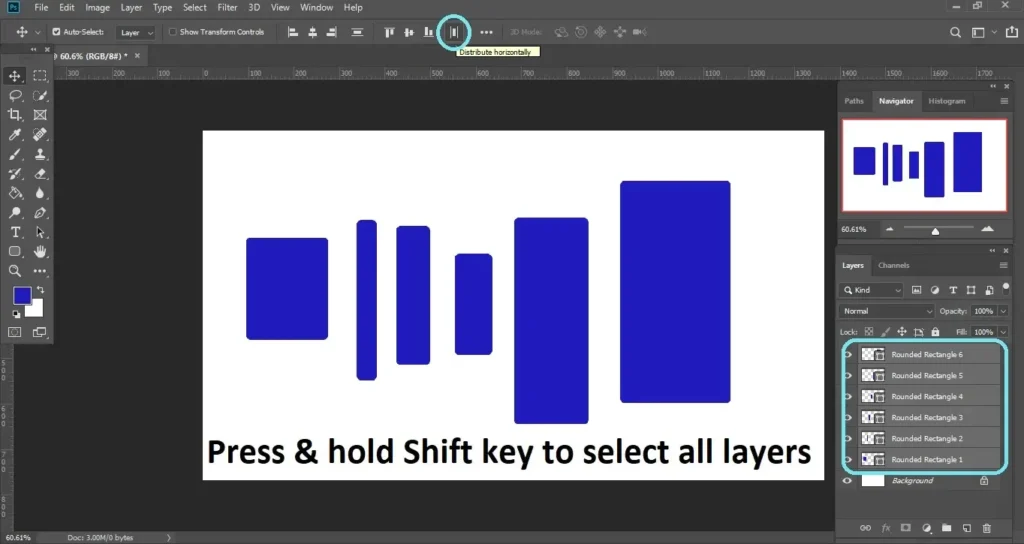
How to Evenly Distribute Objects in Photoshop
Photoshop allows you to evenly distribute spacing between multiple objects, which is especially helpful when creating layouts, banners, or design compositions. This ensures consistent alignment without manually measuring distances. If you have several shapes or elements placed unevenly, you can quickly arrange them with equal spacing.
How to Distribute Objects Evenly
Select all the objects or layers you want to align by holding Shift and clicking each layer. Activate the Move Tool (V). In the options bar at the top, click Distribute Horizontally to space objects evenly from left to right.
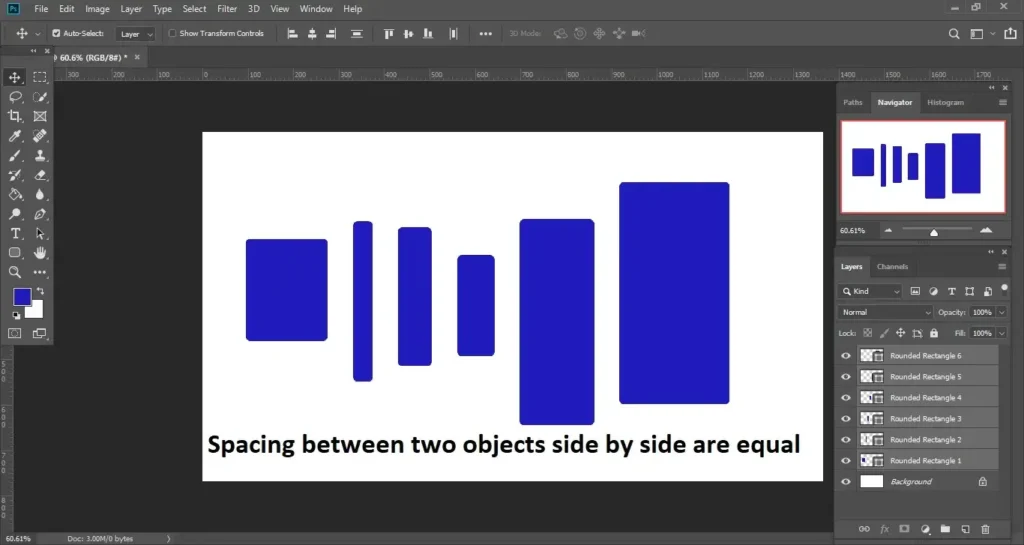
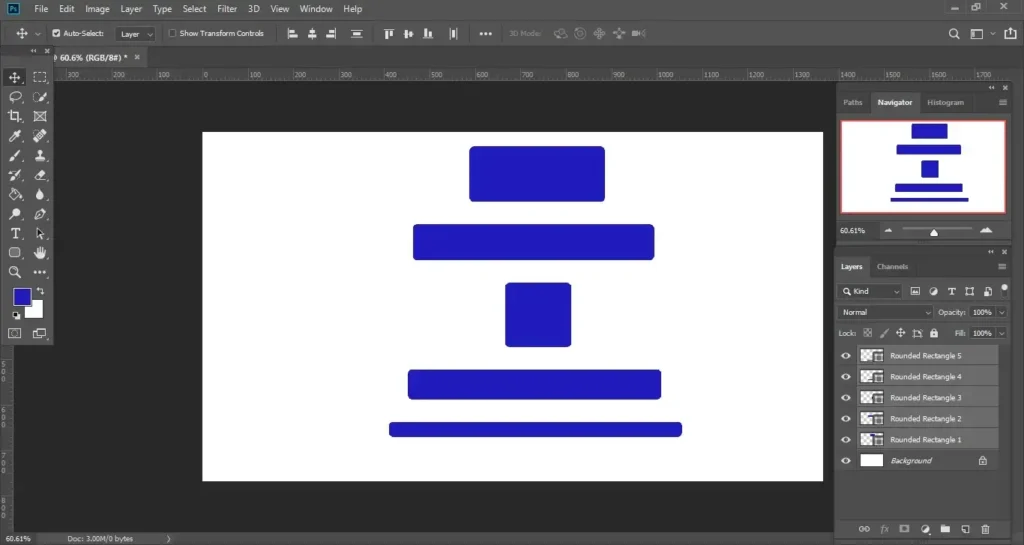
For vertical arrangements, use Distribute Vertically to create equal spacing from top to bottom.

Professional Editing Use Case
This feature is useful when designing promotional graphics, social media layouts, or product catalogs where consistent spacing improves visual balance and professionalism.
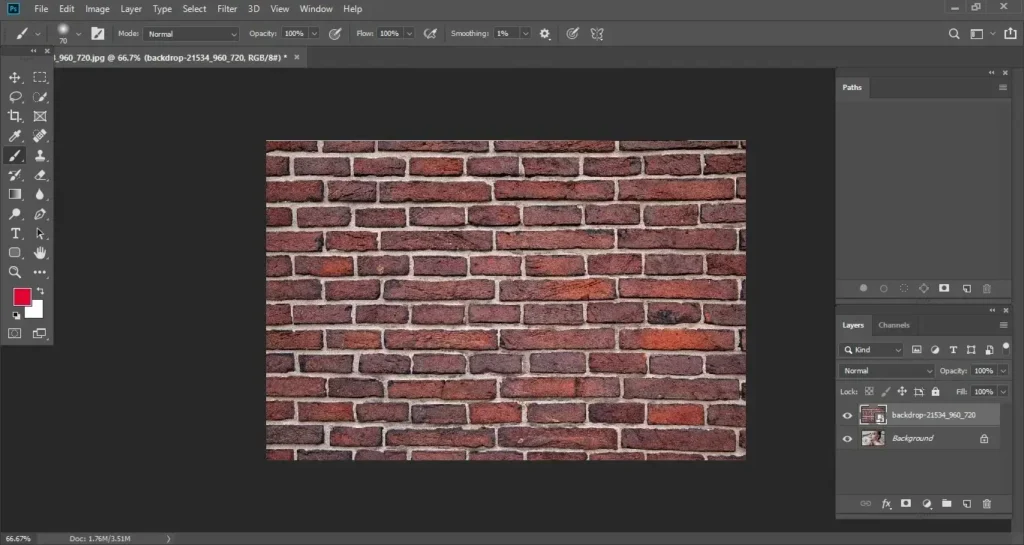
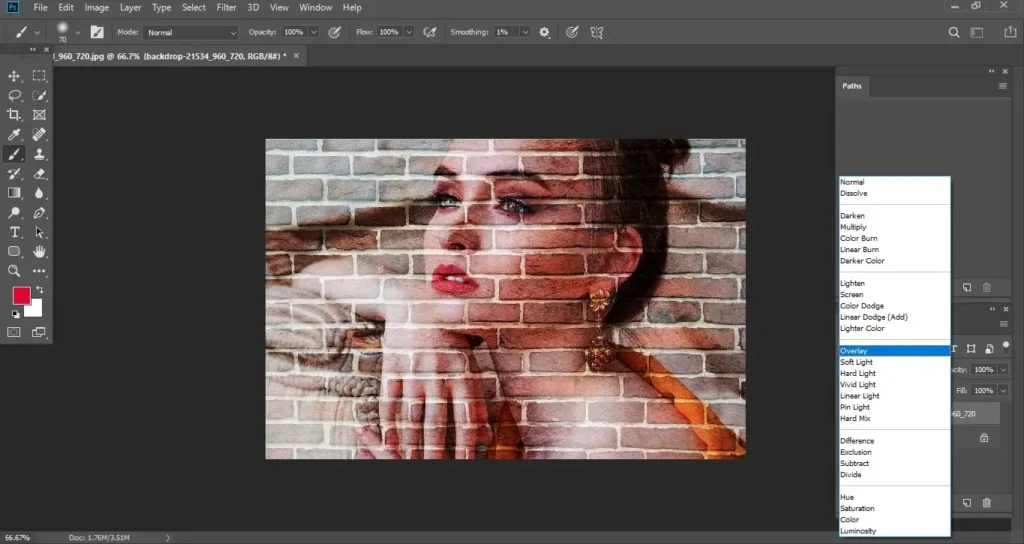
How Does Blend Mode Preview Help in Photoshop Editing?
Blend Mode Preview in Photoshop allows you to see how different blend modes affect your image in real time before selecting one. This helps editors choose the best blending effect more quickly and accurately.
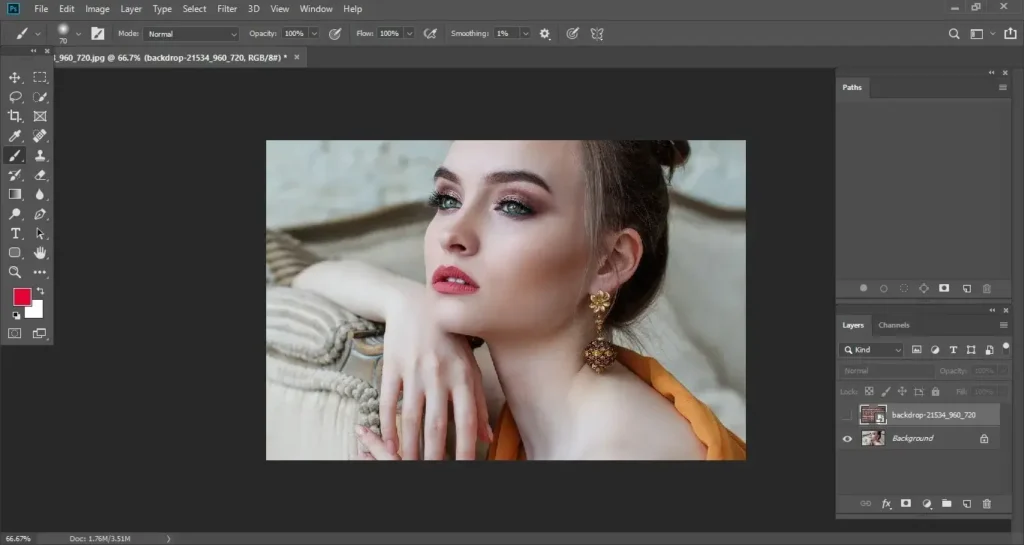
To use this feature, place a texture, adjustment layer, or graphic element above your base image in the Layers panel. Then open the Blend Mode dropdown and hover your cursor over the different options. Photoshop will show a live preview of each blend mode directly on your image. Once you find the blend mode that works best, you can fine-tune the result by adjusting the layer opacity.
Professional Editing Use Case
Blend Mode Preview is widely used in photo retouching and creative edits, such as adding light effects, textures, shadows, and color tones to enhance the final image
How to Quickly Edit Text in Photoshop
Photoshop allows you to edit text layers instantly by simply double-clicking on the text in your document. This makes text editing faster and more convenient during design and layout work.
Instead of switching to the Type Tool or selecting the text layer manually, you can double-click directly on the text while using another tool, such as the Move Tool. Photoshop will automatically activate text editing mode so you can update the content, font, size, or alignment.
Professional Editing Use Case
This feature is helpful when creating banners, social media graphics, product labels, and marketing materials where text needs frequent updates during the design process.
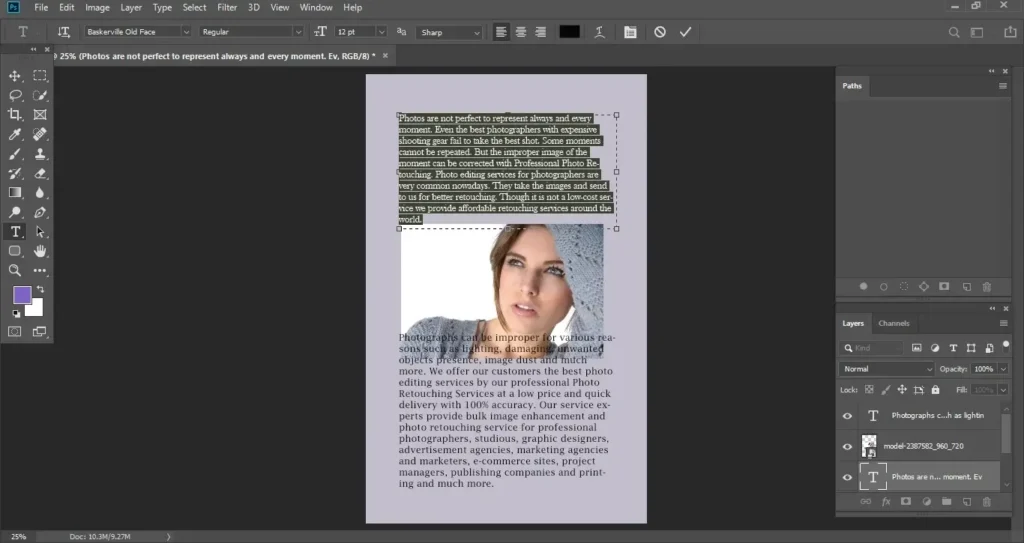
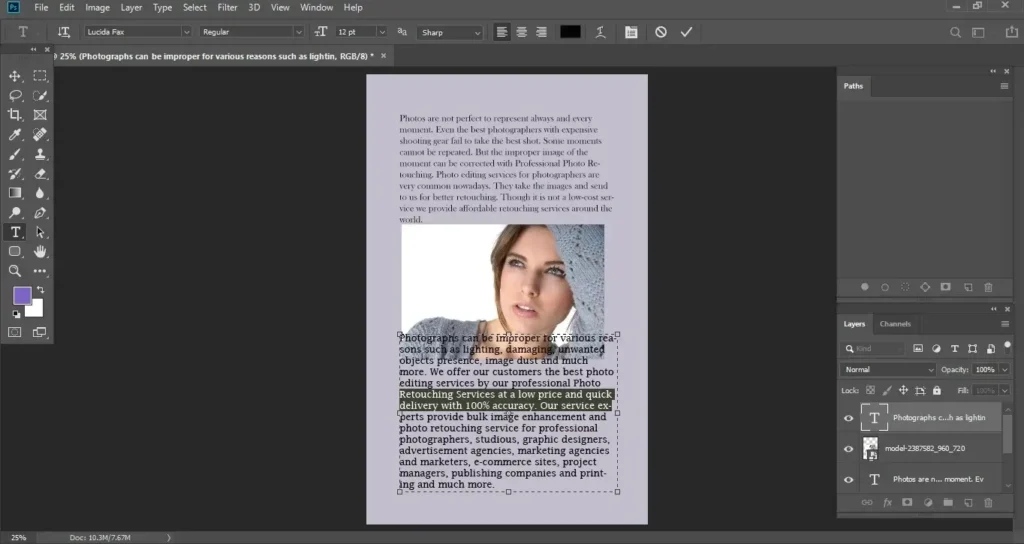
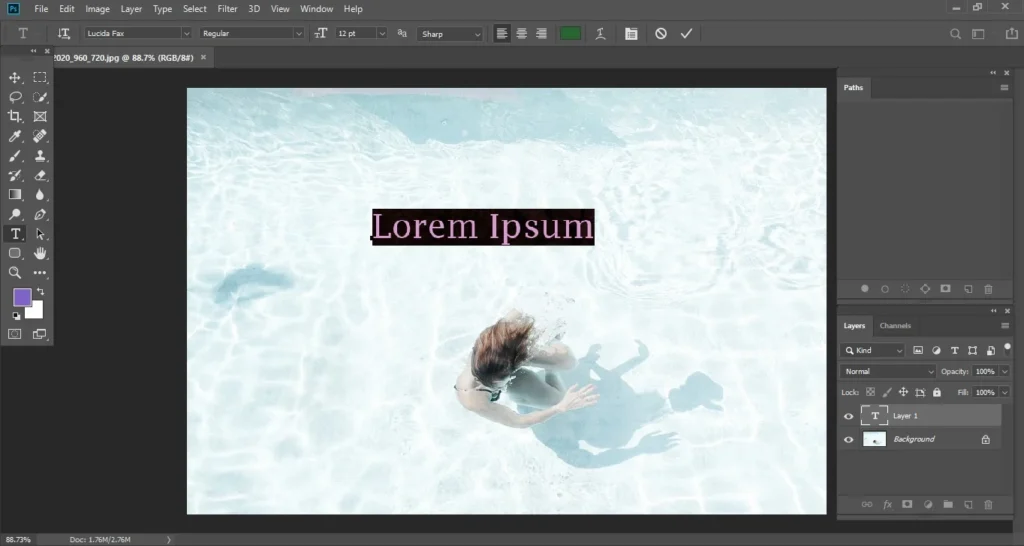
What Is Sample Text in Photoshop and How Is It Useful?
Photoshop automatically fills new text boxes with sample placeholder text, allowing you to preview font styles, size, and layout instantly. This helps designers visualize text appearance before entering the final content.
When you create a text layer or draw a text box using the Type Tool, Photoshop displays sample text by default. You can simply double-click the text to replace it with your own content and adjust font, size, color, and alignment in real time.
The same applies to paragraph text boxes, which also appear with placeholder text to help you see spacing and layout while designing.
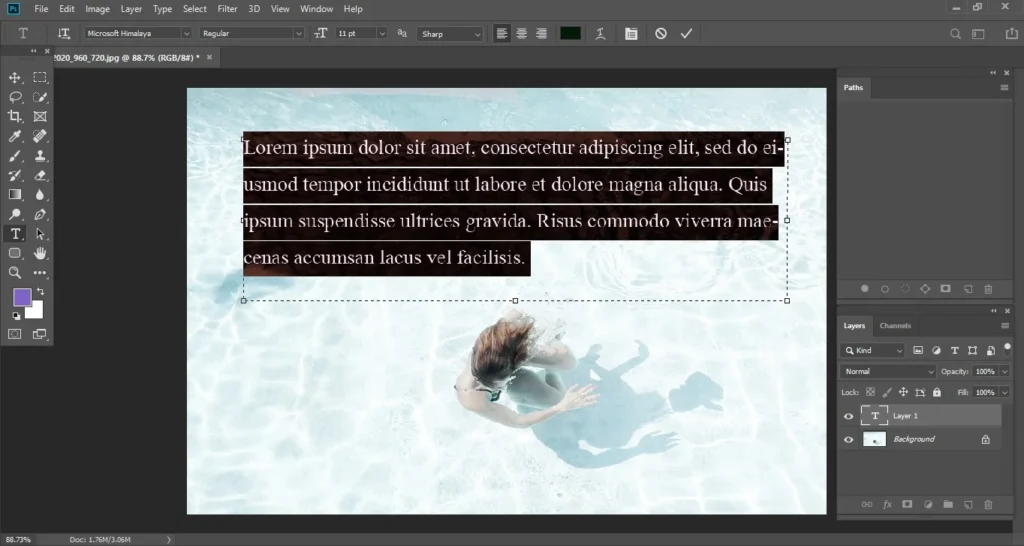
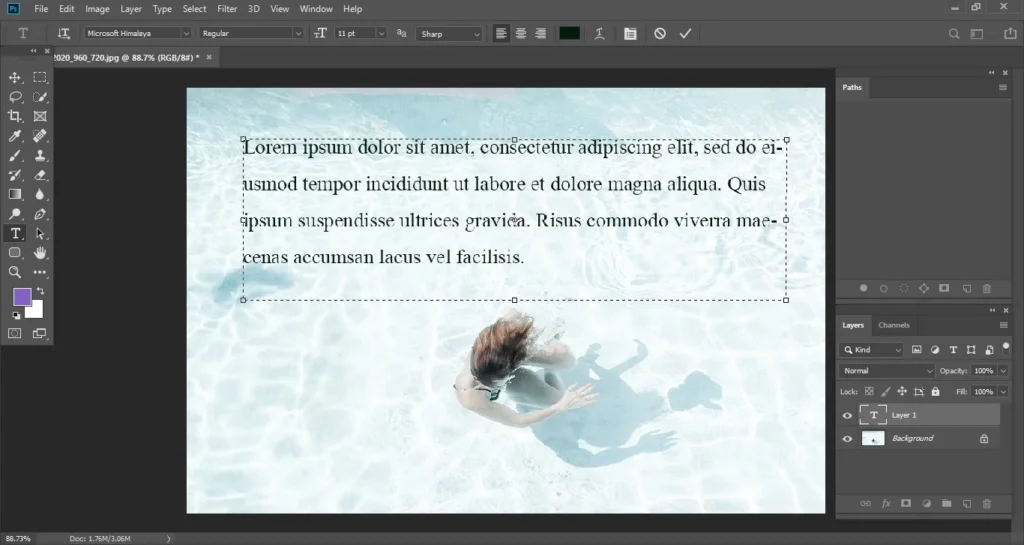
Helpful Tip
You can hide the text selection highlight by pressing Ctrl+H (Windows) or Command+H (Mac) and choosing Hide Extras. This allows you to preview how the text looks without selection outlines.
Professional Editing Use Case
Sample text is useful when designing banners, advertisements, product packaging, and social media graphics where layout and typography need to be adjusted visually before finalizing the wording.
What Is Symmetry Mode in Photoshop Used For?
Symmetry Mode in Photoshop lets you create mirrored or repeating brush strokes automatically. This tool is useful for drawing patterns, decorative elements, and creative design effects.
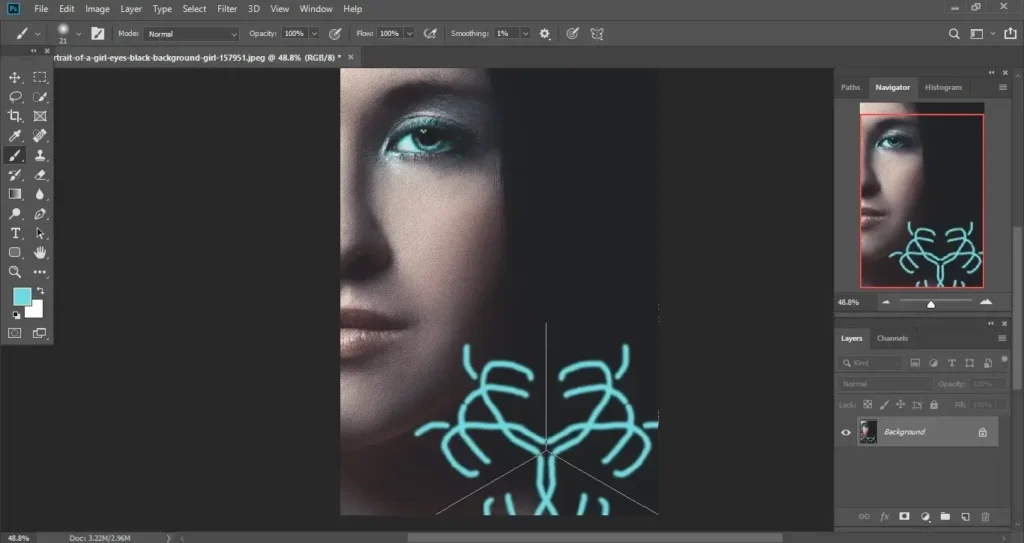
When you select the Brush Tool or Eraser Tool, you’ll see a symmetry icon in the options bar. Clicking it gives you several symmetry presets such as Vertical, Horizontal, Dual Axis, and Mandala.
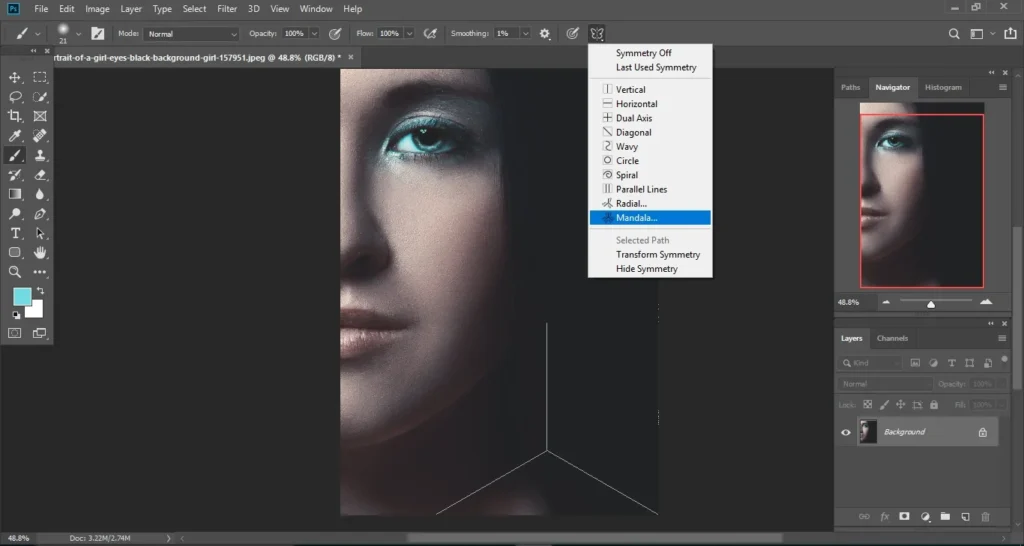
For example, choosing Mandala allows you to draw repeating patterns based on the number of segments you select. Photoshop mirrors your strokes across the symmetry lines in real time.
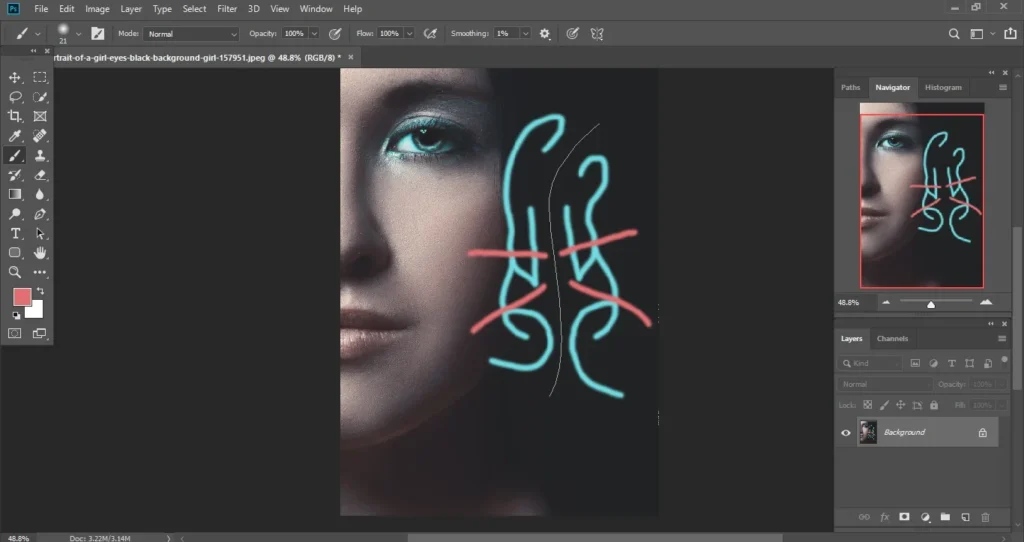
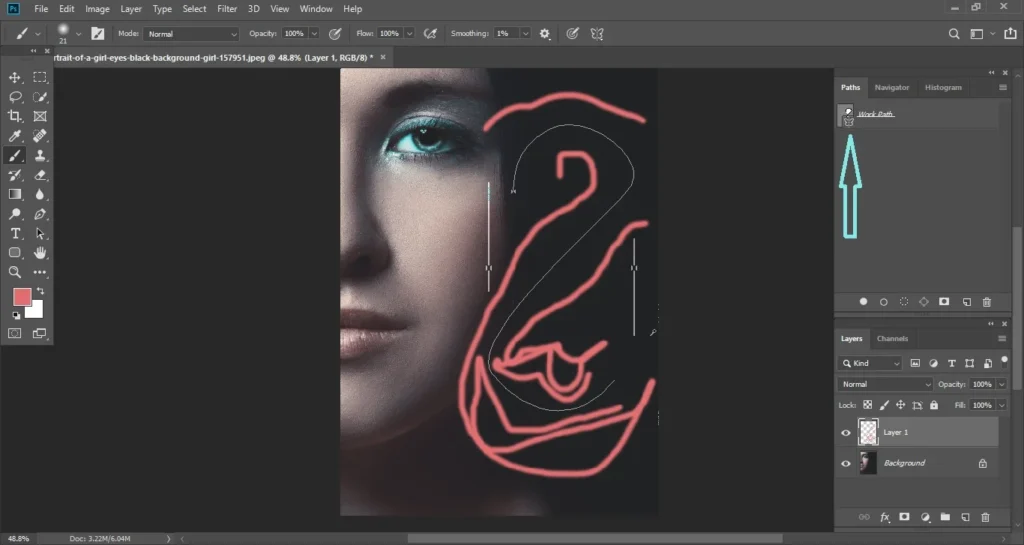
Using a Custom Symmetry Path
You can also create your own symmetry path. Draw a path using the Pen Tool. Click the Symmetry icon in the options bar. Choose Selected Path. Photoshop will mirror your brush strokes along that path, helping you create balanced and intricate designs.
Professional Editing Use Case
Symmetry Mode is often used in creative projects such as background patterns, artistic compositions, and decorative design elements for posters, apparel graphics, and digital artwork.
Other Useful Photoshop CC Improvements
Besides core editing tools, Photoshop CC also introduced several workflow and interface improvements that help professionals work more efficiently.
- Select Subject Performance – Speeds up masking and background removal
- Improved Export As – Faster exporting for web and ecommerce images
- Multiple Artboards – Create designs in multiple sizes at once
- Scalable Interface – Better visibility on high-resolution screens
- Improved Transform Behavior – Easier and more natural resizing
These workflow enhancements also support efficient editing alongside classic Photoshop CS6 features.
How Photoshop CC Features Help in Ecommerce Photo Editing
Photoshop CC includes advanced tools that make ecommerce photo editing faster, more accurate, and more consistent. These features help professional editors handle large volumes of product images efficiently.
- Faster background removal for clean white background product images
- Better shadow creation for realistic product presentation
- Improved color consistency across the entire product catalog
- More efficient bulk retouching for high-volume ecommerce workflows
These improvements make Photoshop CC a powerful tool for professional ecommerce image editing services like Clipping World, where speed and accuracy are critical.
Need Professional Help Instead of Doing It Yourself?
While Photoshop CC offers powerful editing tools, achieving consistent, high-quality results requires skill, time, and experience. Professional photo editing services use these features daily to deliver pixel-perfect images for ecommerce businesses, photographers, and agencies.
Frequently Asked Questions
Yes, tools like Camera Raw Filter, Select Subject, and advanced masking make Photoshop CC highly effective for professional retouching workflows.
Yes, most image editing service providers rely on Photoshop CC for retouching, background removal, and color correction.
Yes, Photoshop CC includes faster selection tools, improved automation, and smarter editing features that are important for bulk product image editing.
Photoshop tools commonly used in ecommerce editing include background removal, shadow creation, color correction, masking, and bulk retouching features that ensure consistent product images.
Conclusion
Photoshop CC offers a wide range of powerful tools that make professional photo editing faster, more accurate, and more efficient. From smart object removal and advanced masking to precise color correction and creative design features, these Photoshop CC features help editors achieve high-quality results across ecommerce, portrait, and commercial projects.
While these tools are powerful, mastering them takes time and experience. Professional photo editing service providers use these features daily to deliver consistent, polished images that meet industry standards.