
Photoshop is like a nuclear power source of photo editing. All you need is to use this tool properly to unleash different hidden features. The X-ray effect in Photoshop is one of the hidden yet useful features of photo manipulation. Creating this effect is easy if you follow the right methods. Here you are going to get a step-by-step guide to create this effect seamlessly.
What is an X-ray effect in Photoshop?
X-ray in Photoshop effect is the process of creating an X-ray image to reveal the skeleton or internal structure. The main concept behind this is creating a high-contrast negative effect that gives a transparent look. In Photoshop, it involves manipulating colors, contrast, and sometimes adding a blue tint to bring the signature X-ray aesthetic.
The X-ray effect is popular in the image editing industry. It works amazingly in image manipulation to create a striking effect, which helps draw the viewer’s attention. The photo editors use this effect to create surreal, futuristic, or scientific themes. It helps the editor to bring a mysterious vibe. That’s why, this effect is useful in creative photography to produce an unorthodox look.
Easy Steps for Creating X-ray Effect in Photoshop
You must follow 8 steps to create a perfect X-ray effect in Photoshop. Every step is described in detail to help you learn and apply them while editing your photos.
Step 1: Open Your Image in Photoshop
The first step is opening the image in Photoshop. Those who are already accustomed to this program know how to open a file. However, if you are new to using Photoshop, you can open your file in two ways.
- The first one is clicking on the File tab at the top left corner of the program. Then, browse your file and open it. Another way of opening the photo is by dragging and placing it in Photoshop.
- Next, set up the workspace to work seamlessly. Ensure your Layers panel is visible by going to Window > Layers if it’s not already open. So, you can easily manage the adjustments in later steps.
Step 2: Convert the Image to Black and White
In the second step, we have to convert the imported colorful image into a black-and-white one. First, we will select the black-and-white adjustment layer. Go to the top menu and click on Image > Adjustments > Black & White. You can also use the shortcut Ctrl + Shift + Alt + B (Windows) or Cmd + Shift + Option + B (Mac).
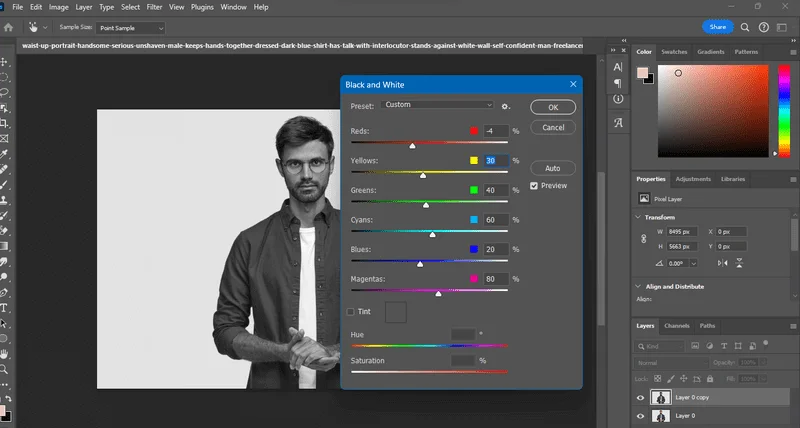
Now, you need to change the brightness of each of the sliders. It will make the parts of the image brighter or darker. You have to increase the brightness that you want to highlight while decreasing the areas you want to make darker. After completing your adjustments, click OK to apply the black-and-white effect.
Step 3: Invert the Colors
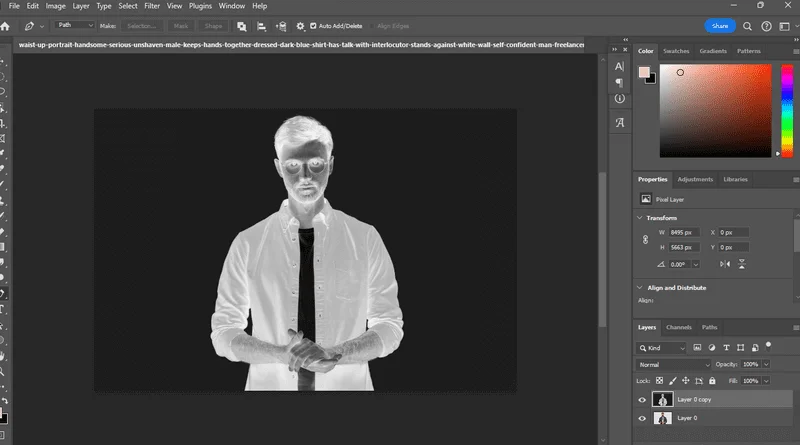
As you have turned the photo black and white, it is time to create an inverted effect. Again, go to the top menu and click Image > Adjustments > Invert. The shortcut ctrl+I for Windows does the same. The inverse effect reverses the color channels of the image. It transforms the bright areas into dark ones and dark areas into bright ones.
Step 4: Adjust Brightness and Contrast
To make the image look more eye-catching, now you need to adjust the brightness and contrast. So, open the brightness and control panel by navigating Image > Adjustments > Brightness/Contrast. A popup box will appear with sliders to adjust the brightness and contrast.
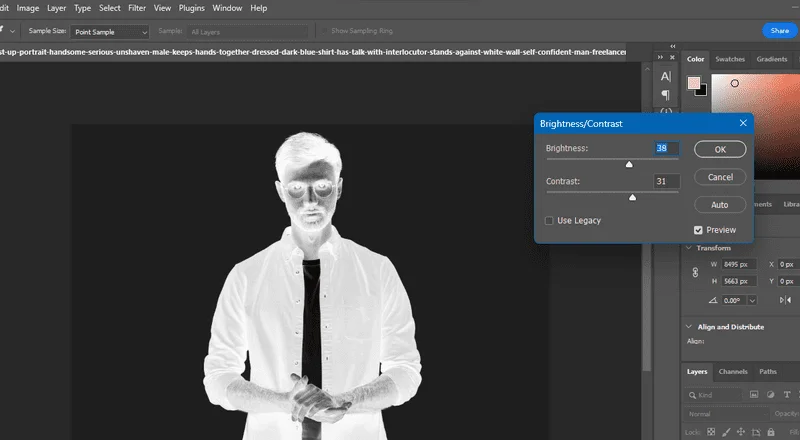
You can increase the contrast by moving the slider to the right. It will create the difference between the light and dark areas of the image. High contrast increases the details in the image. It makes the image sharper and closer to an X-ray effect. Moreover, lower the brightness by moving the slider to the left to slightly darken the overall image. It helps to create shadows and further intensifies the X-ray look.
Step 5: Apply a Blue Tint
To create a more realistic X-ray effect it is time to imply the hue and saturation adjustment layer. Navigate Layer > New Adjustment Layer > Hue/Saturation. It will create a new hue and saturation adjustment layer. There are two sliders for adjusting the hue and saturation.
The purpose of this adjustment layer is to add colors without altering the image permanently. To make the adjustments uniform, go to the hue and saturation panel. There you will get a “colorize” box. Check the box.

Next, adjust the hue slider to around 200-220. Thus, you can apply a blue tint to the image. Adjust the Saturation slider to control the intensity of the color. Keep it subtle to maintain the X-ray look.
Step 6: Experiment with Blending Modes
The blending modes help to create vibrating color effects. If you want to add depth to your image, you can apply a suitable blending mode to it. First, you have to create a duplicate layer. So, right-click on the layer from the layers panel. Then, select the Duplicate Layer option. It will help you to experiment with the blending modes without affecting the original image.
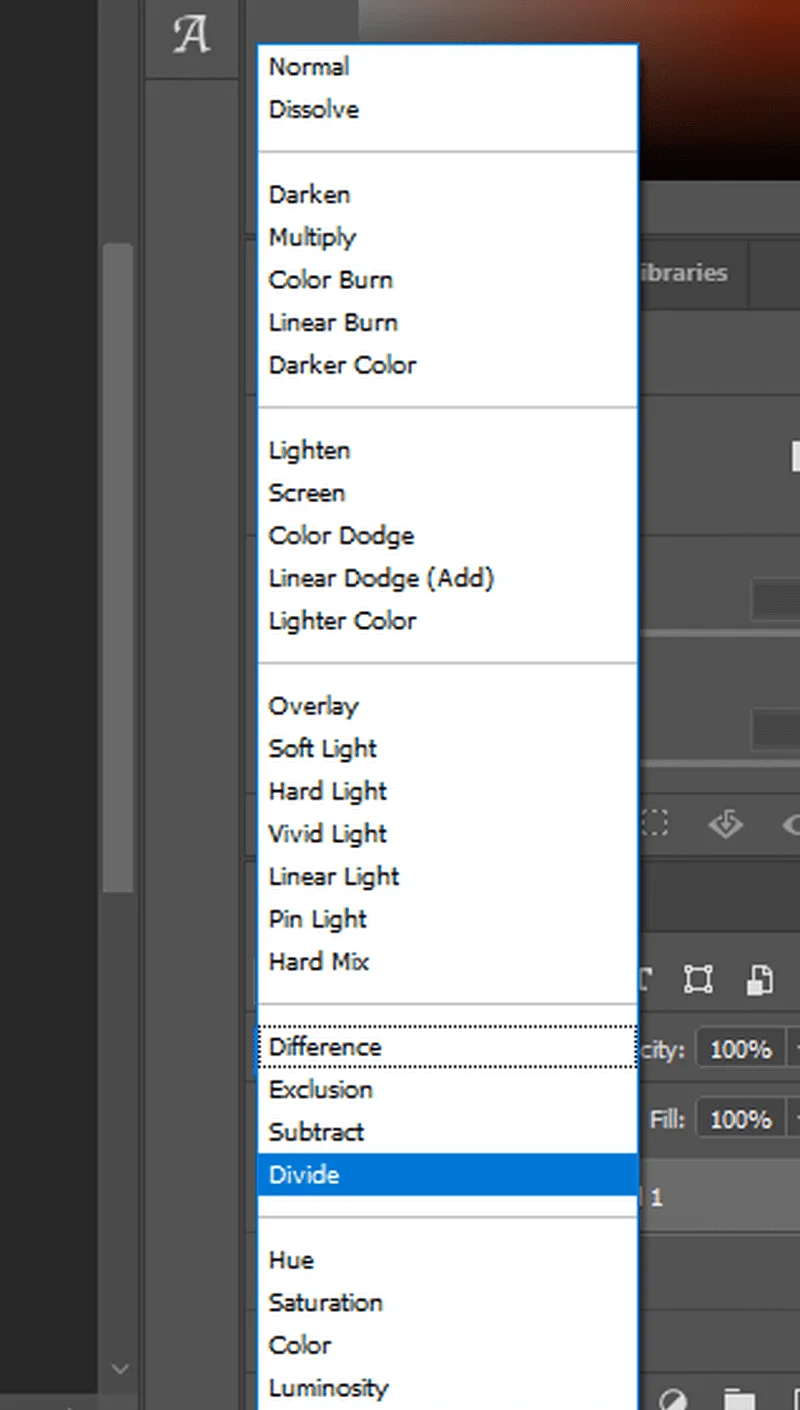
Now select the duplicated layer and click on the drop-down menu in the layers panel. You will get it on the top of the layers panel. Now select a blending mode that complements the X-ray effect. You can use modes like overlay, multiply, soft light, and screen. Also, you can adjust the Opacity slider of the duplicate layer to control the intensity of the blending mode effect.
Step 7: Mask Unwanted Areas
This step will help you remove the unwanted areas from the photo. It creates a more precise outlook. At first, click on the “Add Layer Mask” button at the bottom of the Layers panel. Then select the brush tool from the toolbar or simply click B on the keyboard.
![]()
Adjust the hardness and size of the brush tool according to the era you want to mask. Then set the foreground color to black. It will hide the part of the layer.
Step 8: Final Adjustments and Export
Finally, fine-tune the effect to make sure that the colors are well-balanced. If it is necessary, you can adjust the brightness or contrast to make it look perfect. Also, you can use the levels or curves of Photoshop to enhance the contrast and shadows. If you are satisfied with the output, save the image by navigating File > Save As and select the format for your image.

Final Thoughts
The perfection of photo editing depends on how much are experienced with creating a particular effect. X-ray effect in Photoshop is an image manipulation technique. You can also create it if you follow the right steps. However, you may not get the best results at your initial attempts. You have to keep your patience and practice more and more to get the desired result.
Photoshop is like a nuclear power source of photo editing. All you need is to use this tool properly to unleash different hidden features.
Creating an x-ray effect is easy if you follow the right methods. Here you are going to get a step-by-step guide to create this effect seamlessly.