Realistic Drop Shadow is a photo editing operation that requires learning and a sense of humor. You need to use both requirements at the same time for a successful shadow addition. Original shadow is always the best but sometimes you cannot keep that for a presentation. So, it is necessary to add a shadow that matches well with the subject.
You may have heard of a few methods to add shadows to a subject. One of the most asked and useful of them is the Drop Shadow which you can do artificially by Photoshop. Here we are about to give you some instructions as tips for that. Go through the whole process without blinking your eyes and you will surely learn the professional’s way.
What is a Drop Shadow?
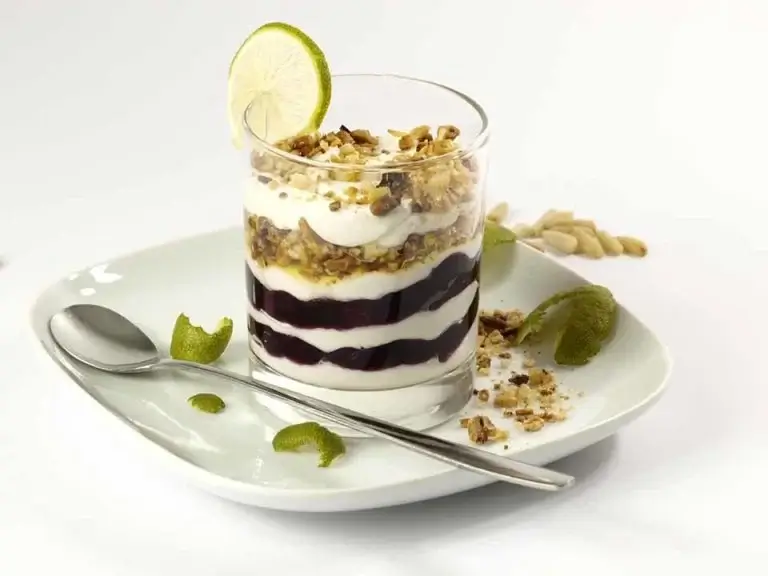
Drop Shadow is an artificial process to create a real-like shadow addition to a subject. As this is not original and created by Photoshop you may have heard of this realistic drop shadow Photoshop. Well, there are other programs that you can use for the operation. However, the creation and the background options are convenient and effective in Photoshop.
How to Create Drop Shadow in Photoshop?
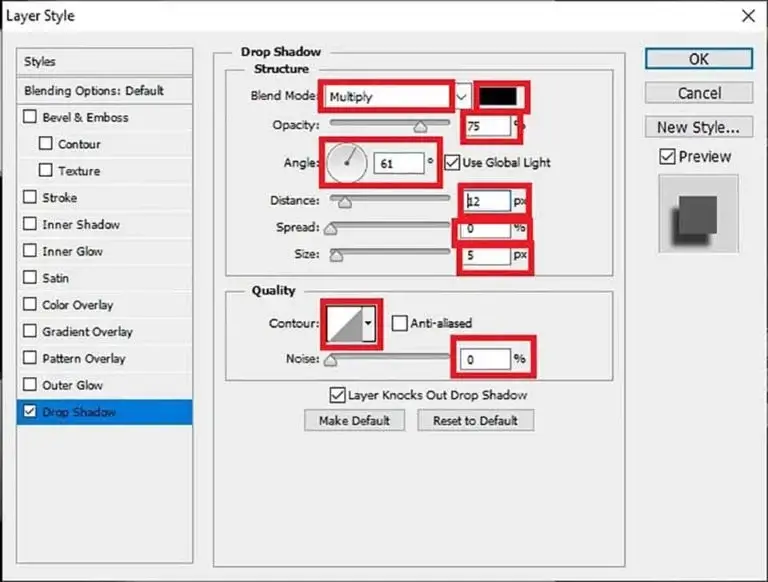
The operation procedure of realistic shadow in Photoshop contains a few steps only. Well, you can use more of the steps for additional looks. For example, you can add multiple layers of shadows to the subject. Or, you can add blurring that can give a catchy look.
Whatever you do, the goal is to make a smart presentation. As for the editing program, we suggest Photoshop CS6 the professionals’ favorite. Or you can use Photoshop CC2020 or upper versions for more convenience with artificial intelligence.
Step 1: Photo Subject Isolation
You need to isolate the subject from a photo to add a shadow by photo editing. The selection tools are very important for the best use of your operation. You can get help with the tools from our blog “How to Make the Background Transparent in Photoshop”. Isolate the selected area by using the Photoshop shortcut Ctrl/Command+J for Win/MAC.
Step 2: Adding a Drop Shadow
As we have the subject separated into a new layer, we do not need the original photograph. So, you can hide the background layer and work on the subject layer only. Now double-click on the layer and choose ‘Drop Shadow’ from the left panel of the layer style window. Make changes to the values as you need.
Step 3: Modifying the Shadow
Some changes and modifications you can make in the Layer Style window. Still, you can make some additional improvements by separating the shadow from the subject layer’s effect. Just right-click on the effect and choose ‘Create Layer’.
You can also go to Layer>Layer Style>Create Layer. They both do the same. Now select the shadow layer and use the Transform Tool by using Ctrl/Command+T for Win/MAC. Use Ctrl/Command, Alt/Option, and Shift for Win/MAC to modify the shadow skew. Click and drag from any point of the transform option and change as you need.
Step 4: Adding Some Extras
The steps we mentioned above are the basic ones. You can do some extra considering your subject of requirements. Also, you can do this for some additional effects. For example, doubling the shadow or making a reflection shadow.
Through reflection, the shadow is not really an automated shadow operation but fulfills its purpose. Also, the shadow you need to add below the subject so, this is a kind of drop shadow as well.
Step 5: Finalizing
Finalizing is the most important step of any kind of photo editing as a single mistake is sufficient to ruin the whole operation. Take a good look at the done image and try to figure out if there are any impurities.
Sometimes you may need to decrease the opacity of the shadows or erase some of them. Make sure you do not hide or erase any essential part of the subject or the shadow. And, if everything is done well, you are good to go.
Examples | Realistic Drop Shadow

We are giving you some examples of shadow addition. The subjects we using are shoes, Furniture, and jewelry. For the time being, we will do the operation and some description locating the steps. We believe the examples will be helpful by the images and the description attached to them.
A. For Shoe
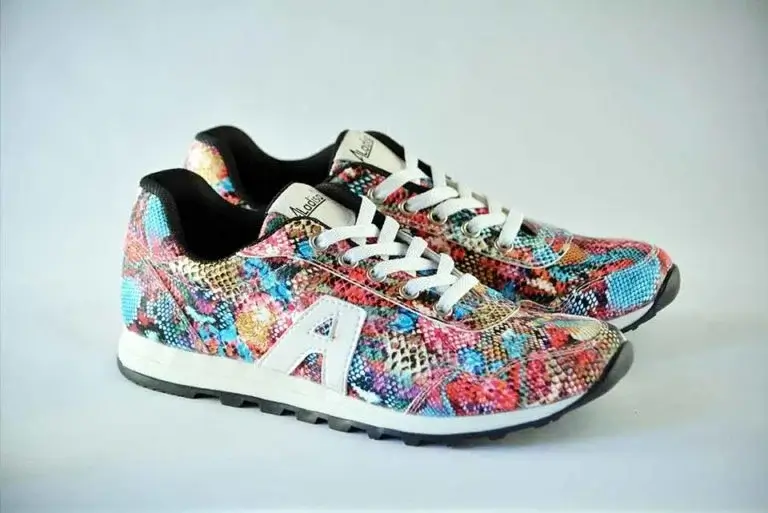
Realistic shadow Photoshop operation for shoe products is a kind of smart post-production. Depending on the photograph, you need to choose the shadow addition. Step 1 & 2 of ‘How to Do It’ remains the same as they are the most basic. In the third step, we will isolate the shadow and modify that as required.
Things we have done for realistic shadow addition are given below in the image. Follow the numbers to understand the sequence properly. We have used masks and the Brush Tool to show and hide the shadow properties and areas. We have used the Transform Tool and made some changes like skew, alignments, rotation, and placement.
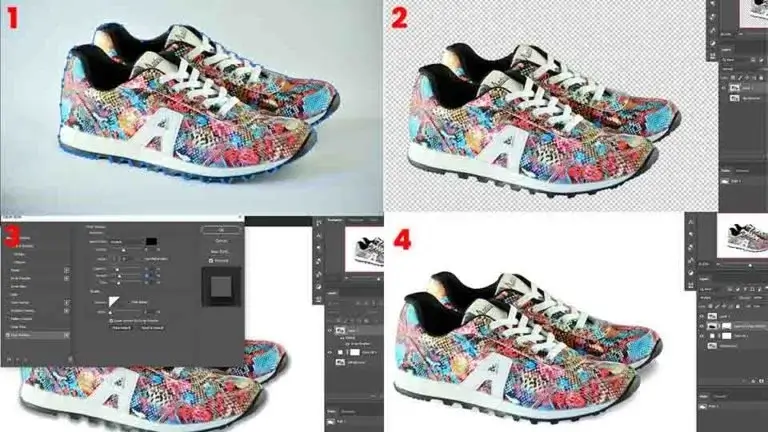
The final image is at no. 4. We have to use the Clipping Path operation for perfect subject selection and isolation. Well, you can use other selection tools for the subject you have. However, perfection in work is highly dependent on the observation and accuracy of your work. Try to learn a bit before doing professional work. Consider that a quick tip.
B. For Furniture
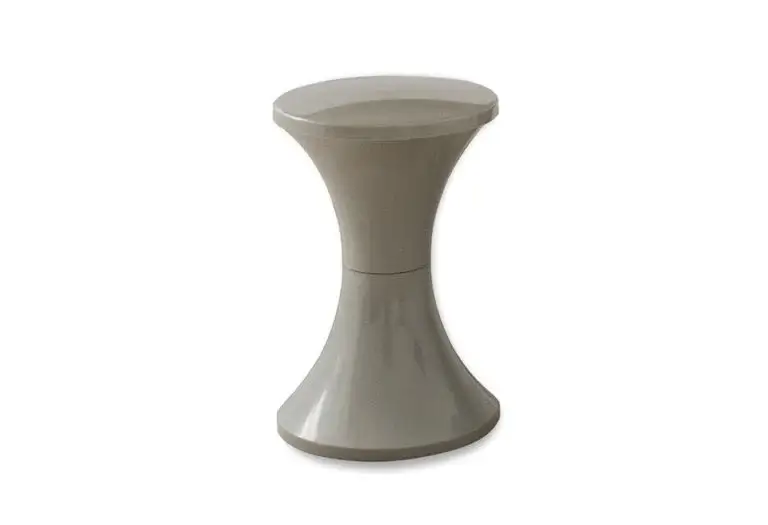
Shadow addition to furniture is a little different than the operation we did for shoes. Here you need to focus on the base of the furniture and the shadow should match accordingly. We will do all the activities like the steps mentioned above. The focusing part is the ‘Skew’ adjustments according to the subject.
Here we have created a path to isolate the subject from the whole image. You can see in the first part of the below image that we used the Pen Tool and created a work path. After that, we made a selection by using Ctrl/Command+Enter/Return for Win/MAC.
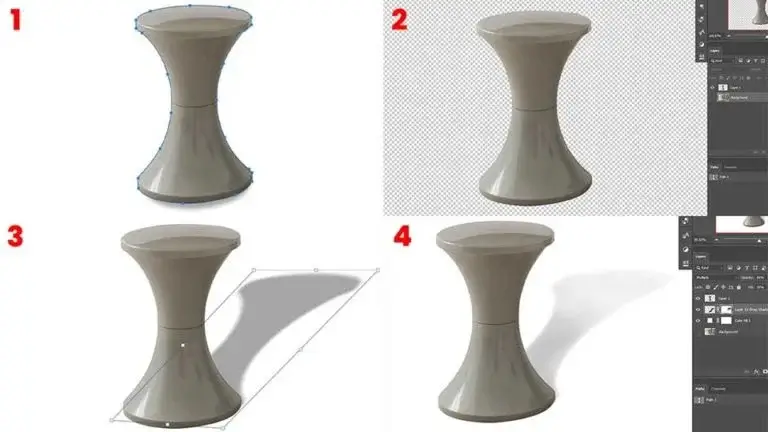
We also used Ctrl/Command+J for Win/MAC to isolate the subject to a new layer. After that, we added a drop shadow as we mentioned in the shoe photo. Then we separated the shadow into another layer and used the ‘Skew’ from the ‘Transform Tool’.
We have made some modifications so that the shadow matches properly. Also, we have used a mask with the shadow layer and lightened the shadow in some areas. No. 4 is the final image you can see.
C. For Jewelry
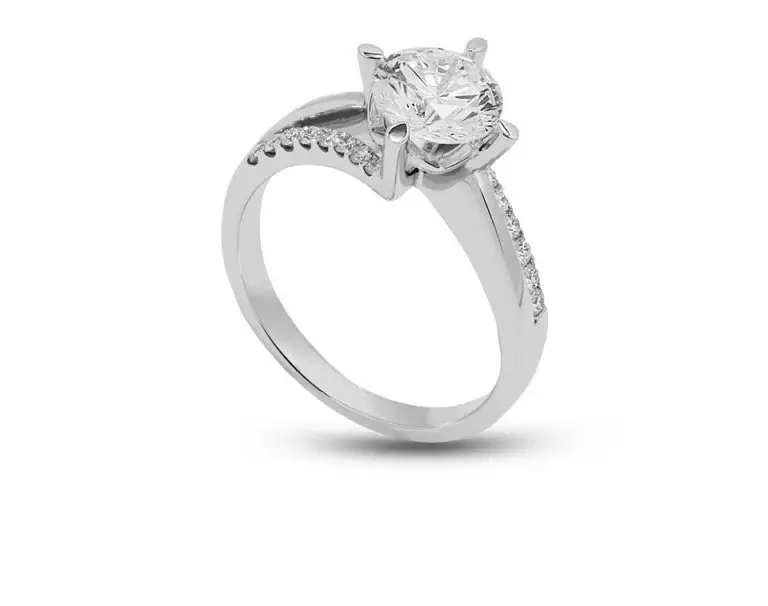
Jewelry is a luxury product that needs a smart presentation different than others. You can apply a drop shadow by the procedure that we mentioned above. But we highly recommend you use the Reflection shadow/Mirror effect for this kind of product. Well, creating realistic shadows in Photoshop is much easier and needs less effort.
But the reflection shadow can improve the visual impression much better. Here we are using a ring with a basic shadow. We will work on the jewelry and add a reflection shadow that suits you better.
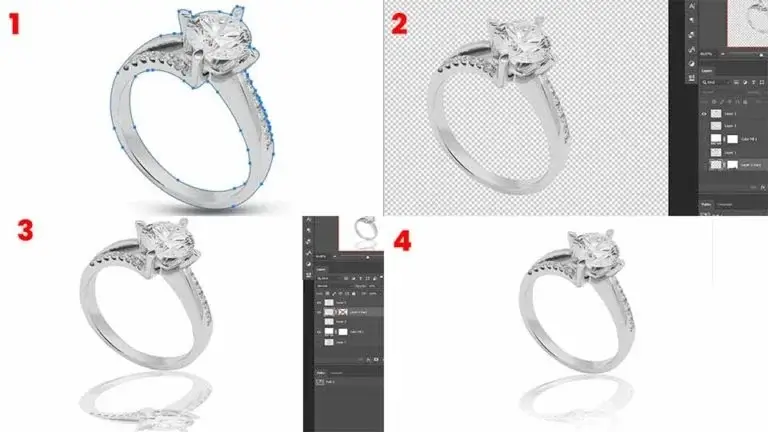
First of all, we create a path around the ring and isolate it from the existing background to another layer. We are using a white-colored background for this example. Next, we make a copy of the ring and do a vertical flip. To do so, use Ctrl/Command+T for Win/MAC to activate the Transform Tool.
Now, right-click on the image and choose ‘Flip Vertical’. Now, place this copy below the original ring and change the shape a little bit. For the view of the ring, we have decreased the height a little bit to make a relevant shadow. But wait. The final part of editing is still remaining.
We decrease the opacity a little bit and mask it. Taking the brush tool with black as the foreground color, we brush over the lower part with 10% flow. You can have all the options in Photoshop. The final image is at no. 4 with a good-looking reflection shadow.
Conclusion
The work procedure for creating a realistic drop shadow in Photoshop is right here with a short description. Well, the task is only useful when you do it yourself. Also, you can get realistic shadow illustrator instructions on the web if you need to know.
But the operation is much more convenient and effective with Photoshop without any doubt. Follow the steps, use your common sense, and do the best you can. One more thing, for the reflection shadow for jewelry, use a black background for a more attractive view.
Frequently Asked Questions
How Do I Make a Realistic Drop Shadow in Photoshop?
Creating a realistic Drop Shadow in Photoshop is a matter of expertise of ‘Layer Style’. You need to have some knowledge and expertise to use the option effectively.
How Do I Make a Realistic Drop Shadow?
Use the ‘Drop Shadow’ option from the ‘Layer Style’ with the isolated subject and do some changes. You need to follow some examples to perfect your work. Move the slider that matches the subject the best.
What is a Drop Shadow Tool?
You need to know a few tools for creating a Drop Shadow. The first one is the Pen Tool. The second, the Selection Tool. The third one is the isolation by the selection. Also, you need to add a Layer Style where you will find the Drop Shadow window. The rest is up to your expertise.
What Makes a Shadow Blurry?
You can decrease the opacity of the shadow to make it blurry. Also, the size of the Drop Shadow options can help the process a little bit. And, you can add a blur option from Photoshop Filters to make it more satisfying.

