
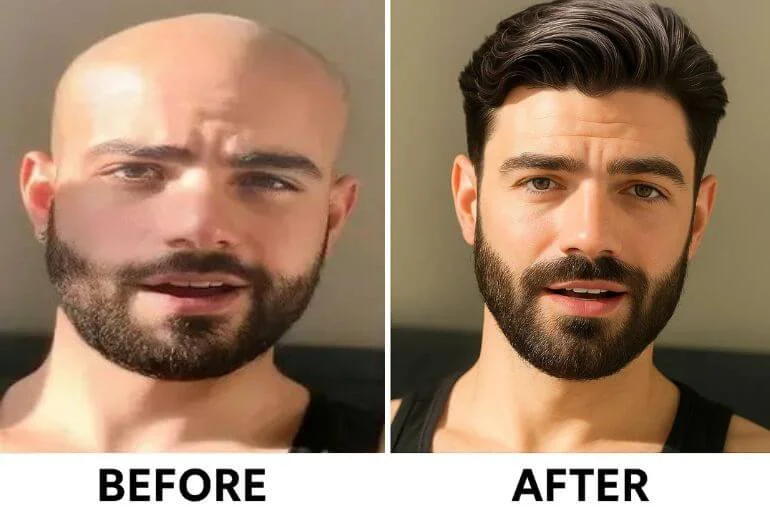
Want to see a hair transplant before and after transformation without visiting a salon? With Photoshop, you can easily add or change hair in any photo. This guide will show you how to create realistic hair transplant effects in Photoshop. Follow these tips to master the art of transforming hairstyles with ease.
Step-by-Step Hair Transplant in Photoshop Tutorial
Changing hairstyles in Photoshop is simple and fun. Follow this step-by-step guide to create realistic hair transplant before and after photos.
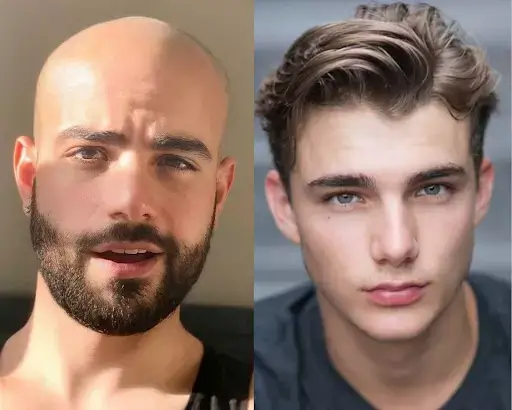
Step 01 – Choose Bald and Hairy Head Images for Before & After
Choose an image of a bald individual and make a note of the light direction in this image. Then choose an image of a hairy head of your choice in the same light direction.
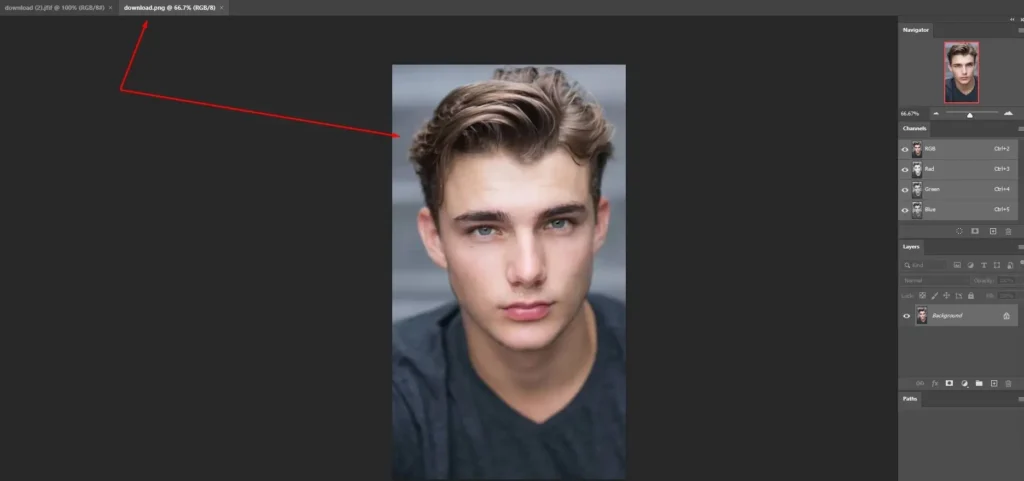
Step 02 – Select the Bald Person’s Image
Go to Adobe Photoshop and select those images. First, select the bald person’s image. Then add that person’s image, who has hair, and whose hair you want to select.
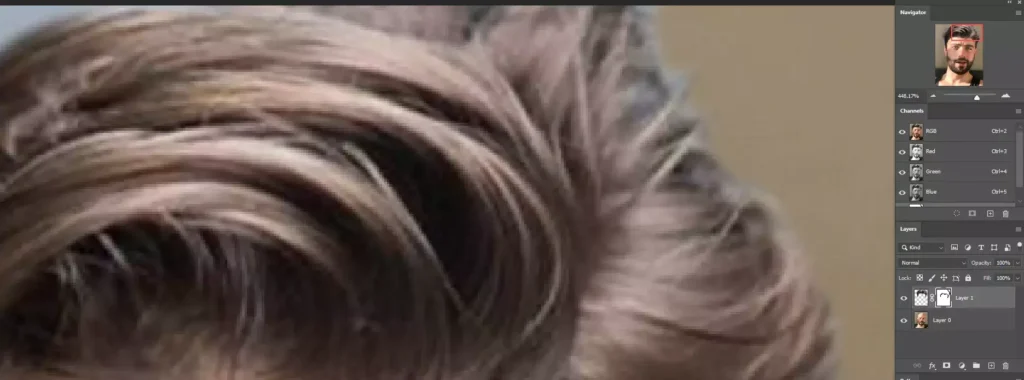
Step 03 – Use the Lasso Tool to Select Hair
After that, use the lasso tool from Adobe Photoshop’s left sidebar. Cut the hair out from the hairy person’s image, just draw a cut over the head. Press Ctrl + T to modify the hair’s location on your head.
You can press Enter when you’re satisfied with the position. Use the little squares in each corner of the glued hair to gradually modify its size for suitable scaling. CTRL+C to copy the hair area from that image.
Step 04 – Modify the Hair’s Location
When you’re done with the clipboard hair, switch to the photo of a bald man and paste it onto the canvas (Ctrl + V). Press Ctrl + T to modify the hair’s location on your head (see image below). You can press Enter when you’re satisfied with the position.
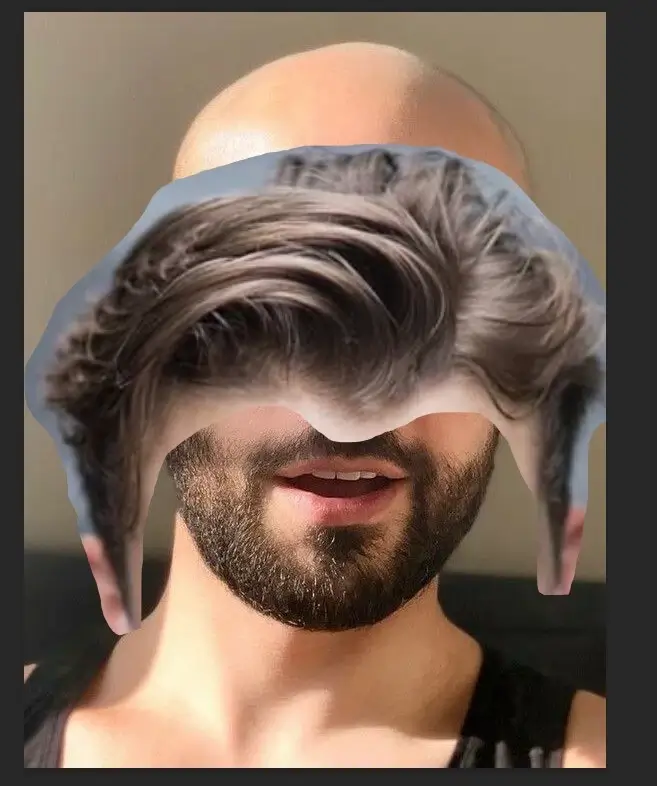
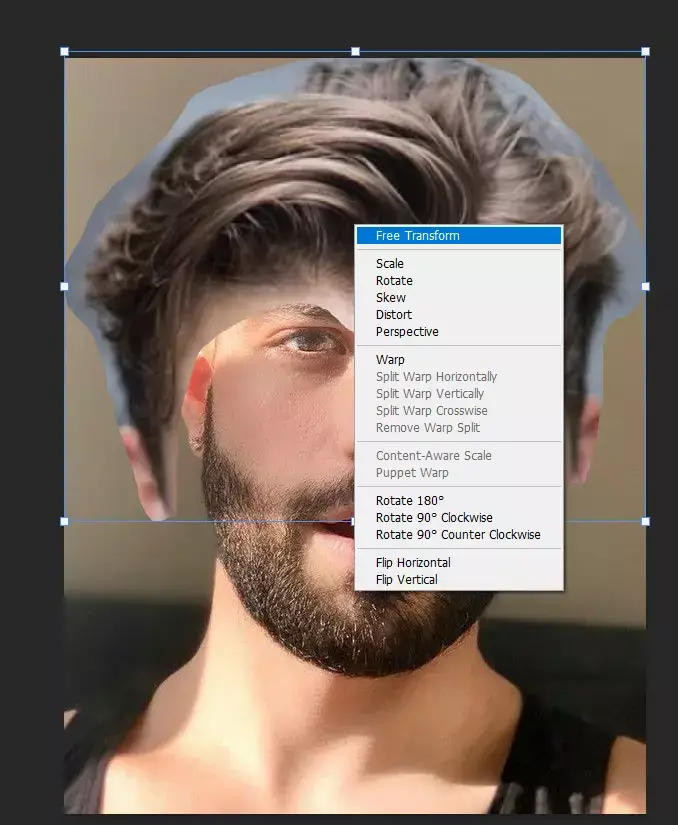
Step 05 – Free Transform Option to Alter the Hair Location
Then, using the right mouse button, navigate to the free transform option, where you may alter the location of the hair that you cut from the other photographs to your liking. Just be sure to look at the color direction of both photographs.
Step 06 – Layer Mask & Use Foreground & Background Color
Now it’s time to use the layer mask. Go to the mask option and add a layer mask. Set the foreground color to white and the background color to black. Then select the Brush Tool and use a soft round brush to carefully remove the background. This will help you blend and adjust the hair smoothly for a natural look.
Step 07 – Final Image of Photoshop Hair Transplant
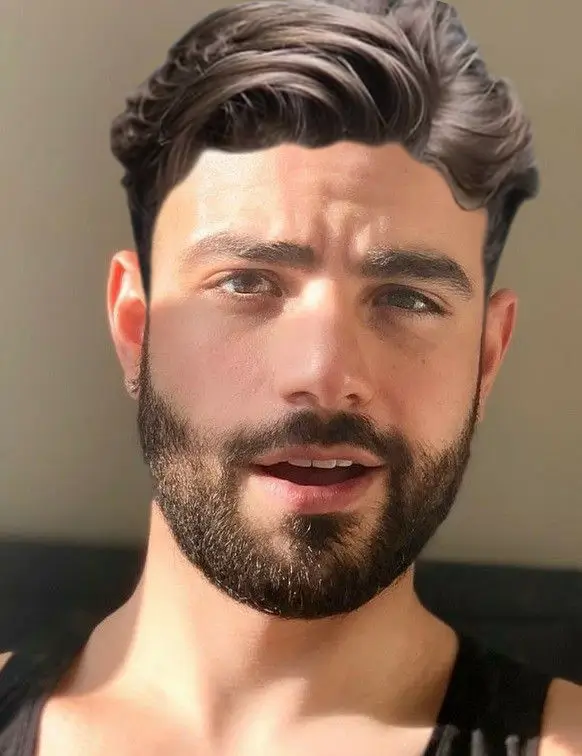
Now work with the background removed from layer 2 to layer 1, and after removing the background perfectly. You will be able to create a realistic, hairy image of any bald individual. Once you’ve obtained this image, you can continue to work with the brush tool to achieve even more precise hair altering.
Final Thought on Better Hairstyles in Photoshop
Creating a hair transplant before and after in Photoshop is simple when you follow the right steps. Choose good images, use the Lasso Tool, adjust the hair placement, and refine with layer masks to get realistic results.
You can try new hairstyles or improve photos for fun or work. With practice, you can make before-and-after transformations look professional and natural. Start experimenting today and see how easy it is to change hairstyles in Photoshop!