Are you eager to improve your food photography skills? Whether you’re an aspiring food blogger or just exploring food photography for beginners, these easy-to-follow tips will help you improve your shots instantly. From mastering natural light and selecting the right camera settings to styling and composition, these expert tips will elevate your food photography game.
Top 16 Food Photography Tips for Beginners
If you’re new to food photography, mastering just a few core techniques can dramatically improve your results. From lighting and composition to camera settings and styling, these 16 beginner-friendly tips will help you capture delicious, professional-looking food photos.
1. Use Natural Lighting for Better Food Photography Results
Lighting plays a crucial role in food photography. Whenever possible, shoot using soft natural light from a window to bring out the vibrant colors and textures of your dishes. Avoid harsh artificial light or flash, which can flatten your image.
Try This!
Grab your favorite dish and place it by a window today. Notice how the natural light highlights the colors and textures differently from artificial light. How does it change the mood of your photo?
2. Avoid Using Flash in Food Photography

Using a camera flash can wash out textures and colors in your food photos. Instead, bounce natural light with reflectors or white foam boards to brighten your dish evenly without harsh glare. Mastering food photography composition tips like using the rule of thirds or framing your subject with props helps create balanced, professional images.
Explore our photography tips for more composition advice.
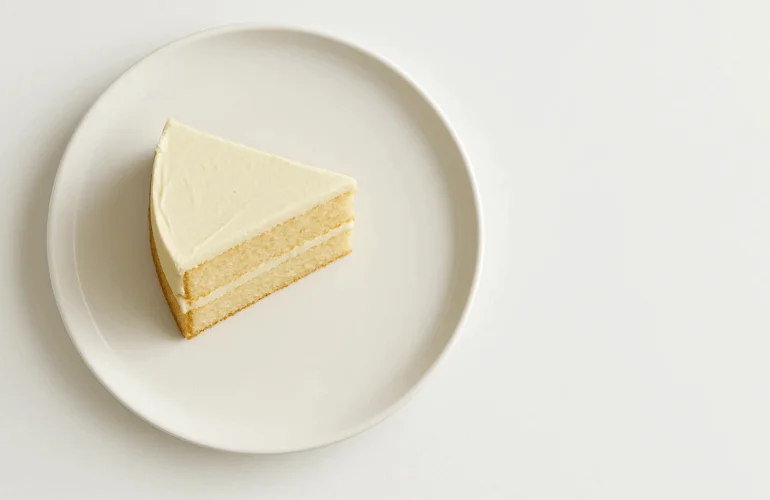
3. Capture Food Details to Make Photos Pop
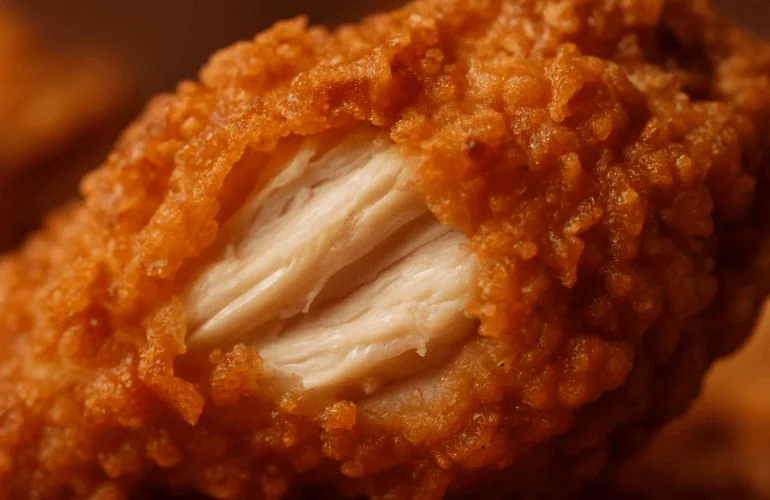
Sharpness and texture are key elements in food photography. Use manual focus or tap to focus on the most appetizing parts of your dish — like the crispy edges, layers in cakes, or glossy sauces — to create mouthwatering images.
Try This!
Focus closely on a specific detail of your dish, like the crispy crust or glossy sauce. Can you capture the texture so well that viewers can almost taste it?
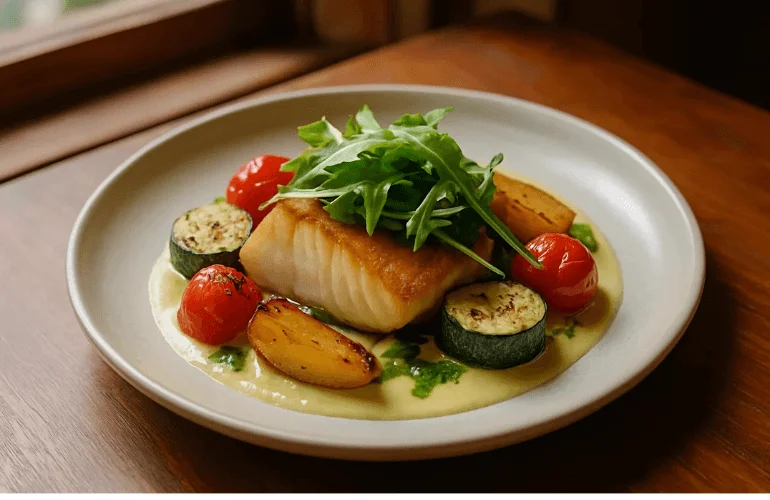
4. Use a Neutral Background to Highlight Your Food
Choose simple, neutral backgrounds in shades of white, grey, or black to make your food stand out. For a bit of character, try textured backgrounds like wooden boards or linen napkins without overpowering the dish.
5. Keep the Frame Clean and Simple
Avoid cluttering your food photos. Include only relevant props like cutlery, napkins, or fresh ingredients that complement the dish and tell a story without distracting the viewer.
6. Tell a Story Through Your Food Photography
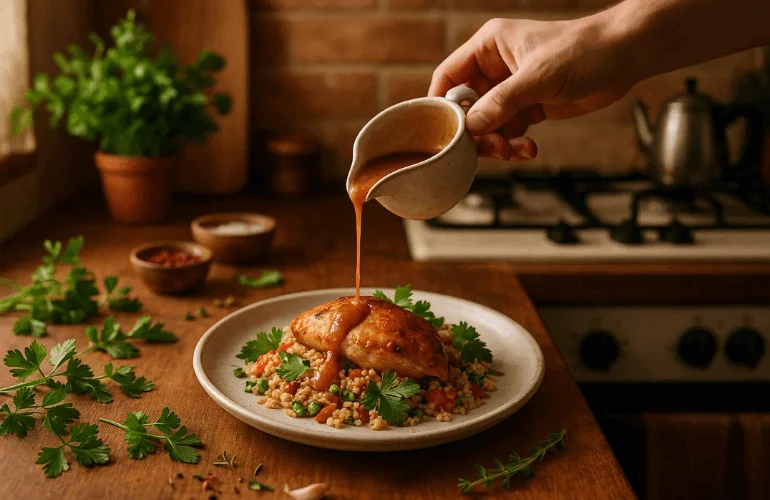
Great food photos are about more than just the dish. Capture moments like sauce pouring, hands reaching in, or scattered ingredients to create a mood and narrative around your meal.
Try This!
Think about the story behind your meal—maybe it’s a family recipe or a seasonal favorite. How can you capture that story visually in one or two shots?
7. Choose the Best Food Photography Angles
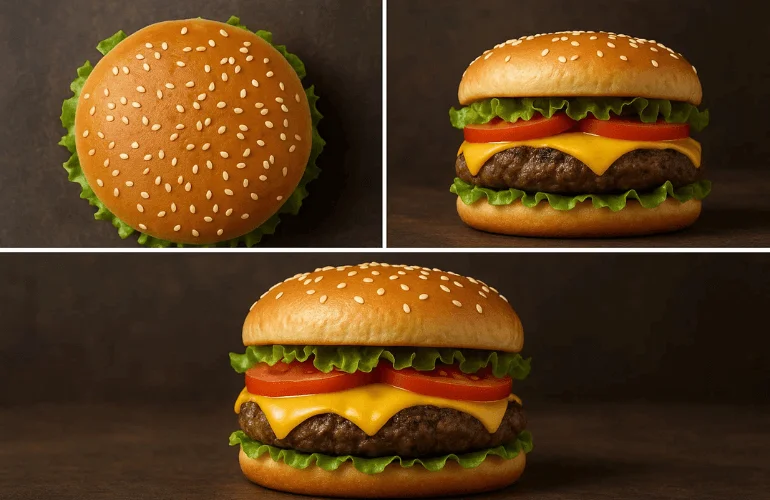
Different dishes shine from different angles:
- Top-down (90°): Ideal for flat lays such as pizzas, salads, and platters.
- Straight on (0°): Perfect for layered foods like burgers, cakes, or sandwiches.
- 45-degree angle: Adds depth and dimension to a variety of dishes.
Try This!
Experiment with shooting your food from three different angles today: top-down, straight-on, and 45 degrees. Which angle best showcases your dish?
8. Apply the Rule of Thirds in Food Photography Composition
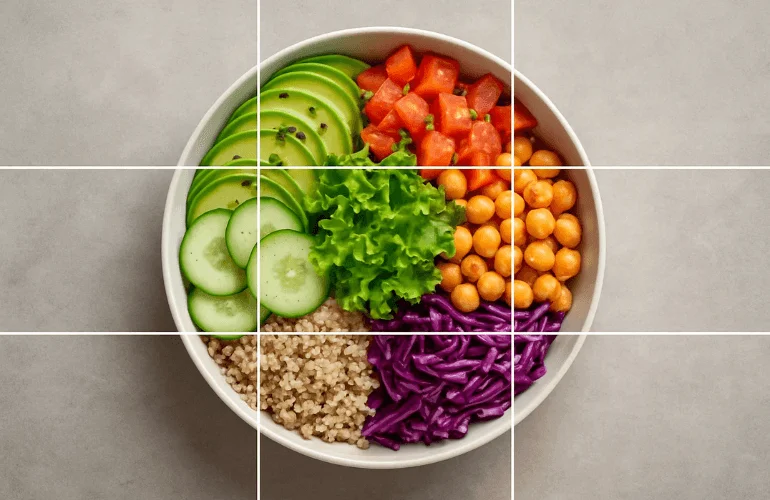
Enable gridlines on your camera or phone and place your subject along the gridlines or intersections. This classic composition technique helps create visually appealing and balanced food photos.
Learn how to use the rule of thirds effectively from this Photography Life tutorial.
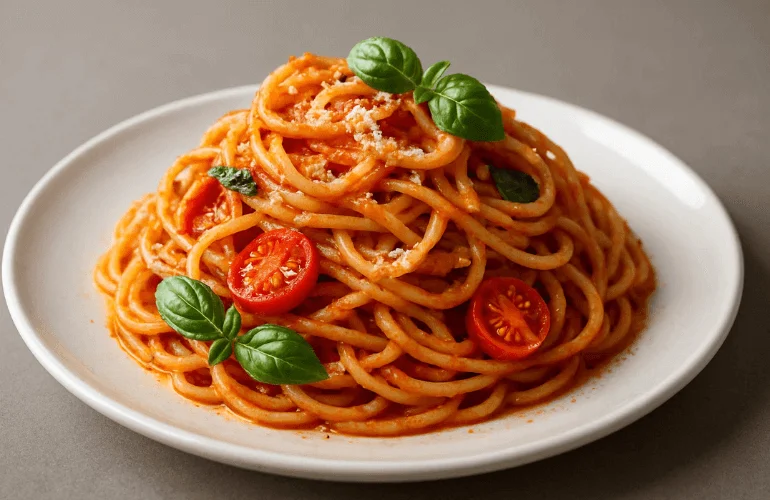
9. Understand Color Composition to Create Visual Harmony
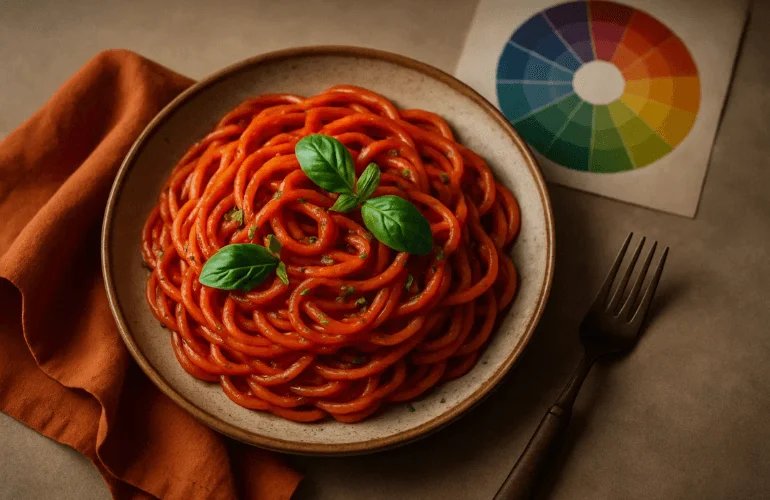
Use complementary and contrasting colors to make your food pop. For example, green herbs on red pasta sauce create a striking contrast. Use a color wheel or mood board to plan your palette before shooting.
Try This!
Choose a dish and build your scene around 2–3 complementary colors. Can you make the colors support the dish’s mood?
10. Use a Tripod for Sharp, Consistent Shots
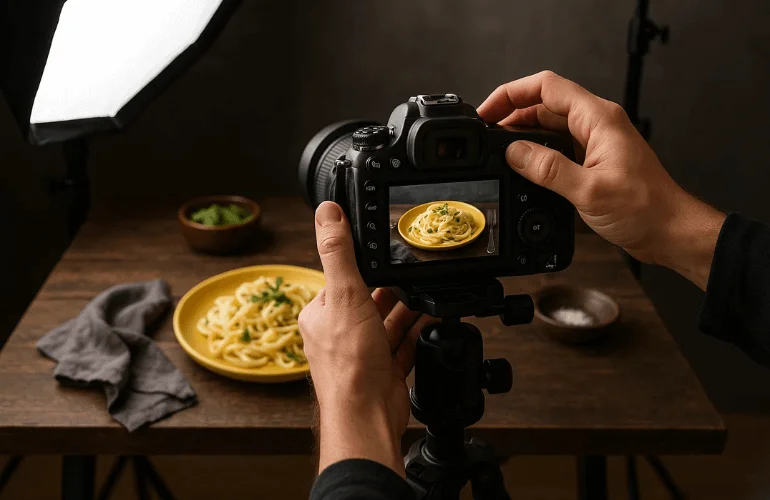
A tripod stabilizes your camera, which is especially helpful in low-light conditions or when shooting from overhead. It also maintains consistent framing across multiple shots.
11. Enhance Food Photography with Natural Garnishes
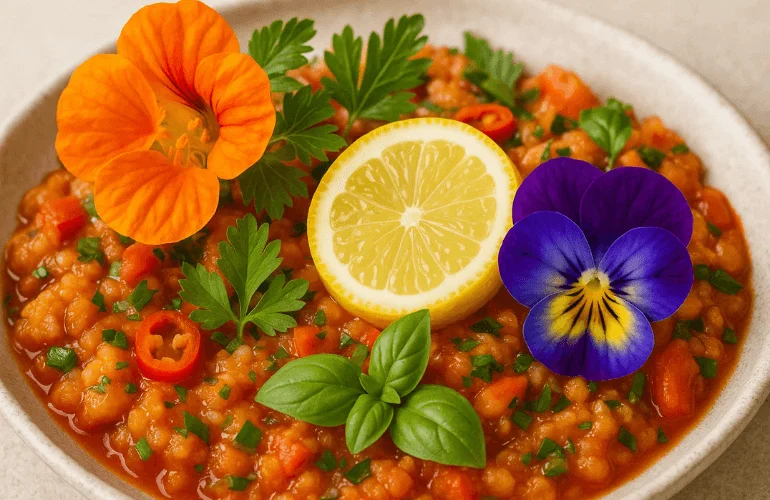
Add fresh herbs, lemon slices, or edible flowers to brighten your dish and add pops of color. Use color carefully to complement, not overpower, the main subject.
12. Style Your Food Thoughtfully
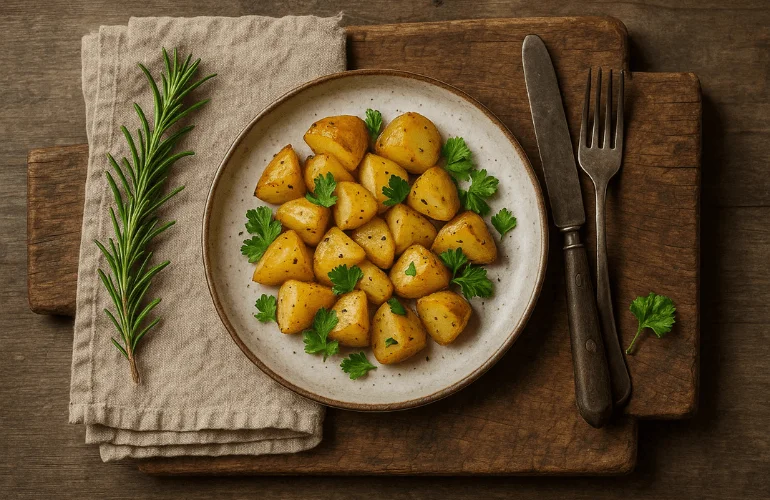
Choose props like rustic plates, utensils, or textured linens that match the vibe of your dish. Keep everything clean — even a tiny crumb can distract and reduce professionalism. Learning how to style food for photos helps elevate your composition and make your dishes look more appetizing and professional.
Try This!
Look around your kitchen or dining table and pick props that complement your dish’s vibe. Style a shot with these props, and notice how they add personality and mood to your food photos.
13. Master Camera Settings for Food Photography
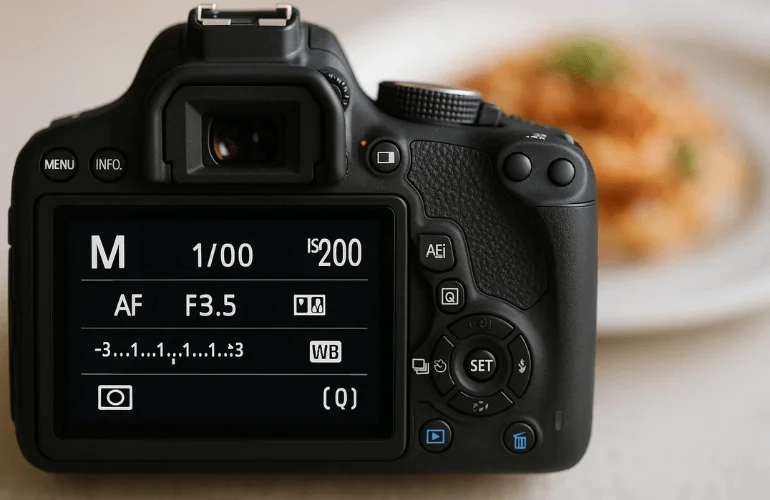
If using a DSLR or mirrorless camera:
- Set ISO between 100 and 400 to reduce noise.
- Use a wide aperture (f/2.8 to f/5.6) for shallow depth of field and soft background blur.
- Shoot in manual mode to control exposure and focus precisely.
Read our detailed guide on camera aperture to understand how to use it effectively.
14. Add Human Touch to Your Food Photography Shots
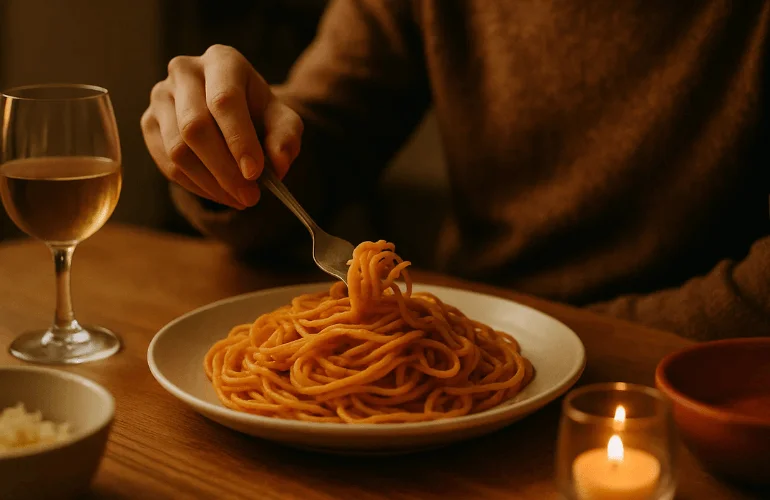
Including hands, pouring drinks, or utensils in action brings warmth and relatability to your photos, inviting viewers into the experience.
Try This!
Invite a friend or family member to interact with the food on camera, like reaching for a bite or pouring a drink. How does adding this human element change your photo’s story?
15. Use Negative Space to Emphasize Your Subject
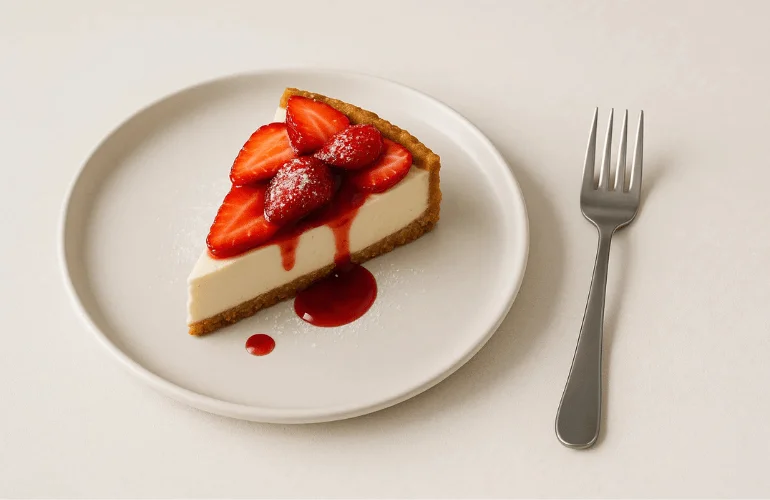
Leaving empty space around your dish creates breathing room and naturally draws attention to the main subject, resulting in a clean, elegant look.
16. Edit Food Photos to Perfect the Final Image

Use editing tools like Lightroom, Snapseed, or Photoshop to:
- Adjust white balance for true-to-life colors
- Fine-tune contrast and saturation for vibrancy
- Sharpen key details without overdoing it
Keep edits natural to maintain appetizing appeal.
Try This!
Pick your favorite shot and spend 5–10 minutes editing it. Adjust the white balance and contrast lightly. Does the photo look more vibrant and appetizing now?
If you want expert help, check out our background removal service to isolate your dishes cleanly from the background.
Want a Handy Food Photography Checklist?
To help you remember these 16 expert tips, download our free printable PDF checklist! Perfect for quick reference while shooting, it’ll keep your food photography sessions on point.
👉 Download your free Food Photography Tips Checklist (PDF)
FAQs About Food Photography
A DSLR or mirrorless camera with a prime lens (like 50mm or 85mm) offers excellent results. However, smartphones with manual controls and good lighting also work great for beginners.
Yes, natural window light is often enough. Use white foam boards or reflectors to soften shadows and enhance your image.
Absolutely. Modern smartphones with advanced cameras can capture stunning food photos when paired with proper lighting and composition techniques.
Use natural light, clean compositions, the rule of thirds, and post-processing tools like Lightroom or Snapseed to enhance vibrancy and clarity.
Adobe Lightroom, Snapseed, and VSCO are great options. For advanced edits, Photoshop offers more control over details and tone.
Final Thoughts
Mastering food photography takes time and practice, but these tips will get you off to a strong start. Keep experimenting with lighting, styling, and angles to develop your unique style. Remember: Great food photography isn’t just about the food—it’s about how it makes people feel.
🎯 Ready to take your food photography to the next level? Bookmark this checklist or share it with a fellow foodie. And if you need pro editing help, check out our image editing services!