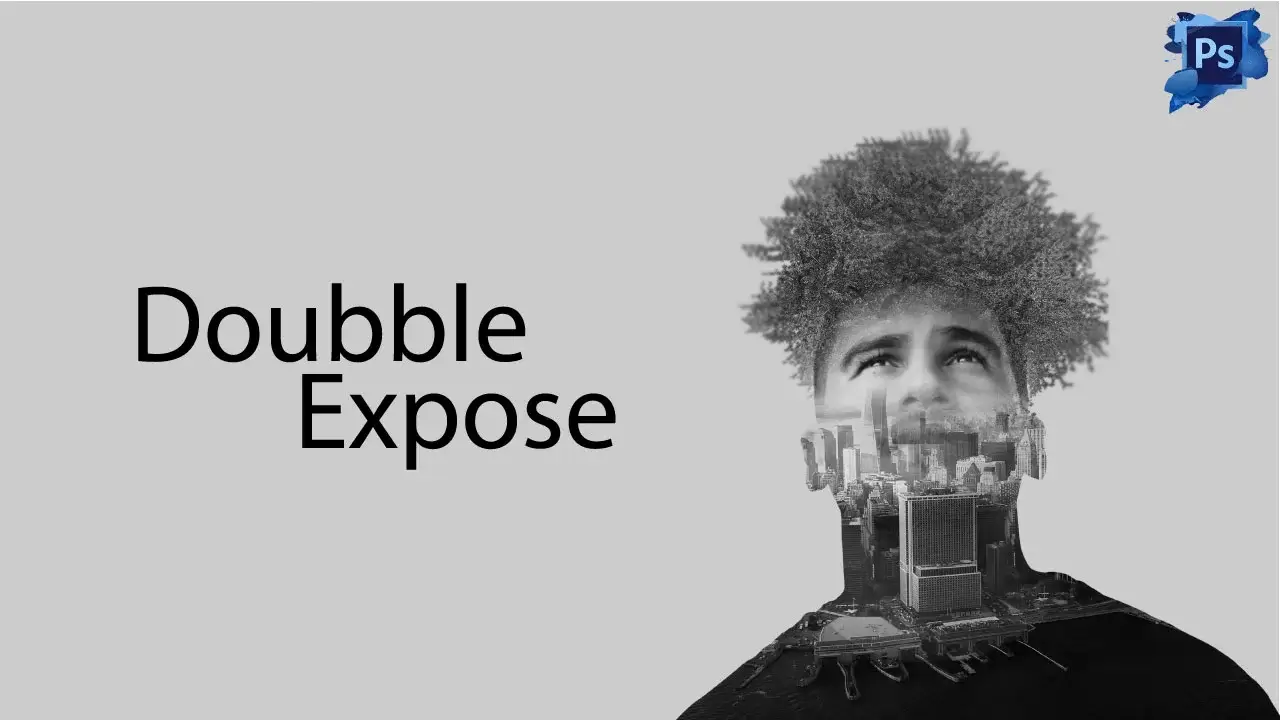
Double exposure effects in Photoshop let you blend images into captivating artworks—perfect for posters, ads, and digital art. This step-by-step tutorial shows how to master this technique easily, even if you’re a beginner. Let’s transform your photos into stunning visuals in just minutes!
Programs To Use
Generally, we work on Adobe Photoshop. The program has enough tools & options. Creative designers mostly prefer this one for the best editing job. Another software called Gimp is also a good app. Gimp is a little different than Photoshop. It is famous in the editing field, too. This tutorial uses Adobe Photoshop CC 2019, but earlier versions or GIMP can work too.
Double Exposure Effects by Clipping World will surely amaze you. By the way, there is also a double exposure in-camera function with a few models. So without ado, let’s start our Photoshop tutorial.
Double Exposure Effects in Photoshop Guide
Process 1 | Double Exposure Effects in Photoshop
Step-01: Images and Background Color Set
We will go with the easiest process of Double Exposure art. We will take the subject image and another image for work. The second image could be flowers, texture, trees, etc., according to your will. Open both images in the Photoshop program or drag and drop. It doesn’t matter which process you follow. Let’s create a new document in Photoshop. I am taking 1280X720 pixels.

A new window in Photoshop will open. I will fill the background with the color ‘Black’. You can choose any color depending on the images you work with or according to your will. But make sure the background is complementary to or resembling the project you are handling. To do so, click on the ‘Create new fill or adjustment layer’, select ‘Solid Color’, and choose the color you like.

Click and drag both images into the new tab. I am using a model on a white background and a water splash with a transparent background. Also, I will take out the model from the white background in a moment. By the way, to click and drag images to the new Photoshop document, make sure you select the Move Tool first.

Step 02: Combining the Subjects
To separate the model image from the background, you can use several techniques. The Quick Selection Tool, Lasso Tool, Magic Wand tool, Pen tool, etc., are good. I am going to use the legendary ‘Pen Tool’ for my convenience. You can learn more about the Pen Tool from our blog, “Understanding and Mastering the Pen Tool in Photoshop“.
Or, with more examples of different image editors, you can check out “10 Photoshop Clipping Path Tutorials around the Web“. Also, you can convert the image into a smart object if the image is in low definition. Otherwise, just go as it is.
I am clipping the image with the edge and leaving some areas for better editing. And, after making the path, you can press Alt+Enter for Win or Option+Return for Mac to make the selection. Press Ctrl+J for Windows or Command+J for Mac to copy the selected image into a new layer and add a mask. Also, you can delete the model layer with a white background or place it at the bottom. Or make the layer invisible.

Now, I am placing the splash water layer on top. And I am moving it on the head of the model with proper alignment. Also, add a layer mask.

I am selecting the layer mask of the Water Splash layer. With the soft, round brush and foreground color black, I am brushing over the area you want to erase. Also, make sure the blend mode is normal, the Opacity is 100% and the Flow is 100%.

Step-03: Color Tone Matching
The water splash does not match the human face. So, I am adding a Hue/Saturation adjustment layer on top and adding to the splash layer only by a clipping mask. Press Alt for Windows or Option for Mac, place the cursor on the line between the layers, and click. Anything we do will apply to the attached layer only. Check the box ‘Colorize’ and adjust the sliders to match the face tone. When you are satisfied, hide the window.

Step-04: Duplicating Layer and Finishing
Let’s copy both the Hue/Saturation and Splash water layer together and set it at the lower portion of the model image. I am using the same technique as before with the brush tool on the mask and adjusting it with the image. I will repeat it one more time to get a better view.
You may think this Photoshop triple exposure, as we are working with three copies of the splash. But no, it is still the double exposure. You may have a question on “How to do multiple exposures in Photoshop”? Well, without copying the same texture , you can select multiple items to create multiple exposures.

Now I am going for the model. You can adjust the image as you want, but for the model, I am selecting the mask and brush over it. I am also changing the opacity and the flow of the brushing several times, and using the foreground color black. Here is the final output. I am making a group of all the layers and naming it ‘Double Exposure’

Process 2 | Double Exposure Effects in Photoshop
Step-01: Opening the Images
As we have learned the basic double exposure ideas, I will go into a brief for the next Processes. I am taking a model image in grayscale and a beautiful picture of the woods. And this is called the double exposure photographers’ way. Let’s open a new layer as before (1280X720 Pixels).
I am going to click and drag both images into the new Photoshop document. The image of the woods will be on the top layer. The model is below the wood layer. As for the background, I am adding a solid color adjustment layer in black. Before adding the images to the document, I cut out the model image from its background.

Step-02: Image Blending
Here we will learn the magic of the blend mode. If you are using Photoshop CC2019, you can see the preview as you hover over the types. But, in previous versions, you had to select one blend mode first and use up-down navigation keys (Arrow keys) to see the preview. So, choose the best one that caught in your eye or try all to get the most appropriate.
I am placing the model image in the middle of the woods and resizing it to fit the frame. Here, the blend mode ‘Overlay’ is beautiful for the process. Also, some other blend modes like Darken, Multiply, Darker Color, Soft Light, and Hard Light are good too. But, over ley is the best for this project in my opinion. By the way, you can rename the layers if you want.

Step-03: Subject’s Edge Smoothing
Now I am going to smooth the edges of the model as they look too sharp. You can leave it like that, but it will look good with smooth edges, I believe. Add a layer mask in the model layer and select the mask. Grab the brush tool and select the foreground color black. If you have a foreground color of white, press the keyboard key ‘X’ to toggle between black and white.
If there are other colors selected, press ‘D’ for default black & white. I am going to brush over the edges carefully so that it doesn’t damage the surface. Blend mode should be ‘Normal’, Opacity at 100%, and Flow at 100%. I am using a soft brush and use it over the edges only.

To make the image more beautiful, I am decreasing the opacity of the wood to 85%. You can minimize the high contrast in this way. Let’s make a group of the image layers and name it ‘Double Exposure’. Whether you rename it or not, it doesn’t matter.

Step-04: Finishing Touch
The procedure is completed with the above steps. But I feel like adding a border to the image. So, I am adding a new layer over the top and selecting the ‘Marquee Tool’. I am creating the border around the image by pressing Ctrl+Shift+I for Windows or Command+Shift+I for Mac to select inverse.
And, to insert color, you need to use Shift+Backspace for Win or Shift+Delete for Mac. Also, fill in the color you want and press ok. Well, there are several options you can choose from. Now, press Ctrl+D for Win or Command+D for Mac to deselect.

Process 3 | Double Exposure Effects in Photoshop
Step 01: Opening the Images
The process is not always very efficient always but it saves time and labor. At the same time, you can have more ideas about the area you are working in. I will take a model image with the backside, and another one is full of flowers. Same as before, I am going to add both the images in a new document. We will not use the ‘Blend Mode’ or transparent object here. We will use the ‘Opacity’ adjustment for the process.

Step-02: Opacity Adjustment and Masking
I am going to decrease the opacity to 25% for the ‘Flowers’ layer. And the model is visible well enough like this. As I have cut out the model already from the background, I am selecting it and adding a mask. As you can see in the image below, the Model layer with the mask.
I press and hold Alt for Windows or Option for Mac and click and drag the mask to the Flowers layer. So, this creates a copy of the mask on the Flowers layer. Also, with the mask of the Flowers layer selected, I am using the hard Brush Tool and dragging over the black areas like the garment, hat binding, and part of the sunglasses.
The flowers look like embossed on the body and hat. Now, I am adding a solid color to the background.

Step-03: Additional Effects
I am making a group of Flowers and Model layers by selecting both. To create a group, select a layer and press and hold Ctrl for Windows or Command for Mac, then select the other one. Press Ctrl+G for Win or Command+G for Mac. Now it’s time to add some gradient color.
I am creating a new layer with the Gradient Tool, adding some gradients around the model. One more thing I like to add is the Hue/Saturation adjustment layer. At first, I select ‘Colorize’ and then adjust a little bit. It is done now.

Here we have learned a few tricks for Double Exposure in Photoshop, but that is not all. There are lots of ways to perform. You can also name it Photoshop multiple exposures because you can merge more than two images if you want. Try to learn the utilization and create like no other.
And make sure the subject adjusts with the other image properly, or else it will be a mess. Also, be precise with this double-exposure article and get the best out of it. If you want any support related to the editing, feel free to let us know.
Frequently Asked Questions
Double Exposure Effects in Photoshop involve blending two or more images to create a single, surreal visual. This technique overlays textures, landscapes, or patterns onto subjects, producing artistic and eye-catching results.
To create Double Exposure Effects in Photoshop, start by combining two images using layer masks, blend modes, and opacity adjustments. Tools like the Pen Tool, Gradient Tool, and Hue/Saturation adjustments help refine the final composition.
Adobe Photoshop CC (any version from 2015 onward) is ideal for creating Double Exposure Effects due to its advanced masking, blending, and adjustment layer capabilities. Older versions can work but may lack some modern features.
Double Exposure Effects help photographers and designers create striking visuals that tell layered stories. They are popular in digital art, advertising, album covers, and creative portraits, offering a professional, artistic touch.
Yes! Double Exposure Effects in Photoshop are beginner-friendly. With basic knowledge of layers and masks, anyone can follow step-by-step tutorials to create stunning double exposure images using Photoshop.