Changing colors in photos can be tricky. Sometimes, even good cameras can’t capture the exact colors in a photo. Your image may have unwanted color tints, like too much blue or yellow, making it look unnatural. Learning a bit about Color Theory for Photographers can help you choose more realistic and balanced tones before starting color correction.
In this tutorial, we’ll show you an easy way to fix colors automatically in Photoshop CS6 or CC. Using Curves adjustment layers, eyedropper tools, and threshold layers, you can make your photos look natural in just a few steps. This method works for portraits, landscapes, or any image, and can be combined with manual adjustments for professional results.
Getting Started with Automatic Color Correction in Photoshop
Before starting, know that automatic color correction saves time and improves image quality. Even with great cameras, photos can have unwanted blue or yellow tints that look unnatural. This tutorial shows a simple, effective way to fix colors automatically in Photoshop CS6/CC. You’ll learn to use Curves, eyedroppers, and threshold layers to quickly make photos look natural.
By following these steps, you can correct color tones in portraits, landscapes, or any type of image. You can also combine this with manual tweaks for more professional results.
Step 1 — Select the Curves Adjustment Layer
Open your image in Photoshop. At the bottom of the Layers panel, click the Adjustment Layer icon (half-filled circle) and choose Curves.

Alternative: Layer > New Adjustment Layer > Curves.

Step 2 — Use the Middle Eyedropper Tool
In the Curves panel, there are three eyedroppers:
- Top: Black point
- Middle: Gray point (select this)
- Bottom: White point
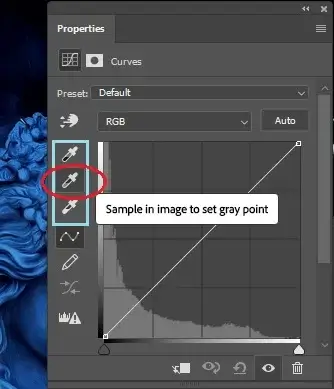
Click on a part of your image that should be gray. This will correct color casts and make the image look natural.

I am using this portion (see the below image) to reveal the natural tone. You can click other portions as the above image’s red-marked portions, and you will get a couple of variety in them. Choose the best one for the job.
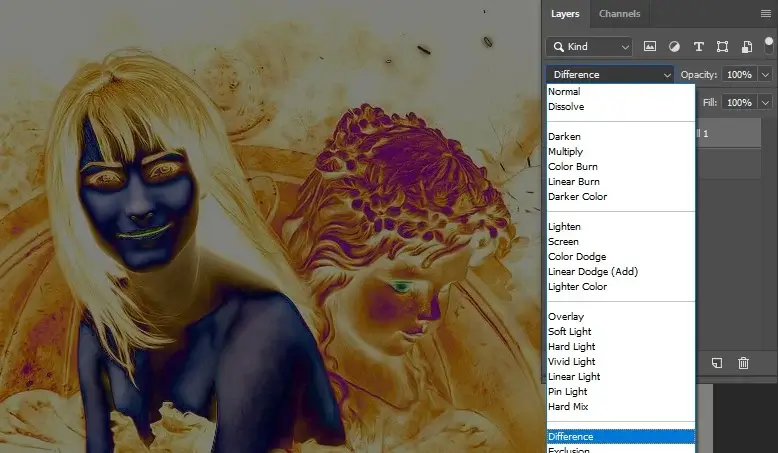
Step 3 — Solid Color Adjustment (Optional)
If no clear gray area exists, create a Solid Color adjustment layer:
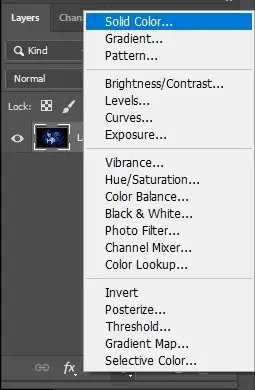
Adjustment Layer > Solid Color

Color Picker: 50% Gray (#808080)

Change Blend Mode to Difference
Step 4 — Use the Threshold Layer (Optional)
Add a Threshold adjustment layer to find the darkest area for sampling. Adjust the level (e.g., 108) to select a reference gray point accurately.

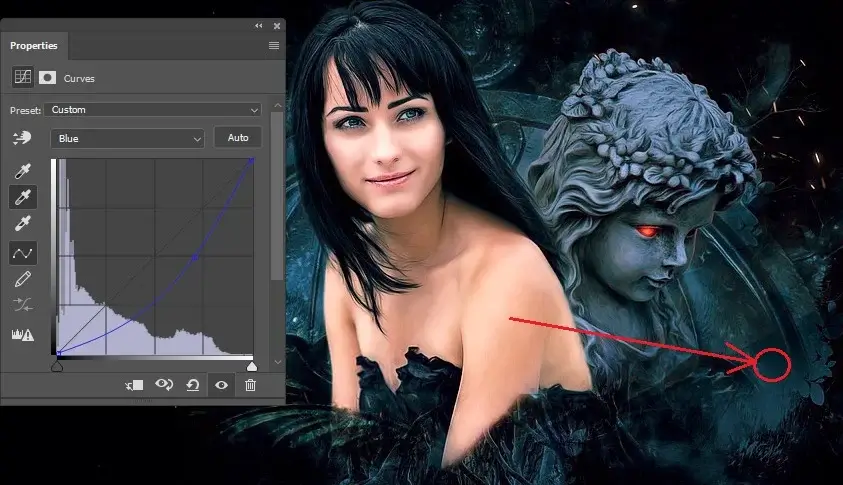
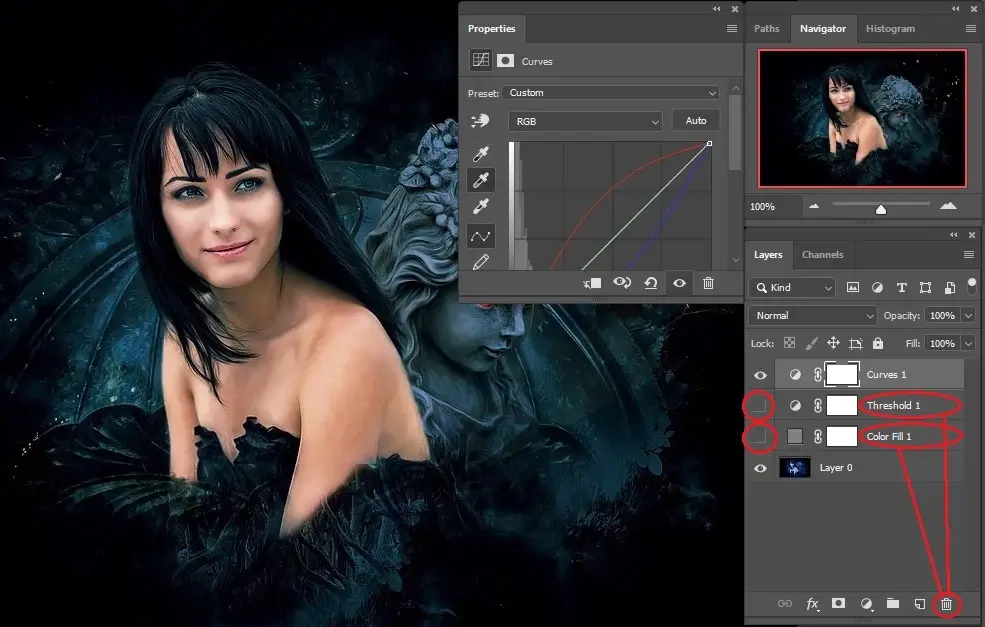
Step 5 — Curves Adjustment for Final Color Correction
Create another Curves adjustment layer and use the gray eyedropper tool on your chosen area. Hide or remove previous layers (Color Fill, Threshold) to see the final effect.
For fine-tuning, use RGB channels individually:
- Red, Green, or Blue channel
- Click and drag in the image to adjust color balance

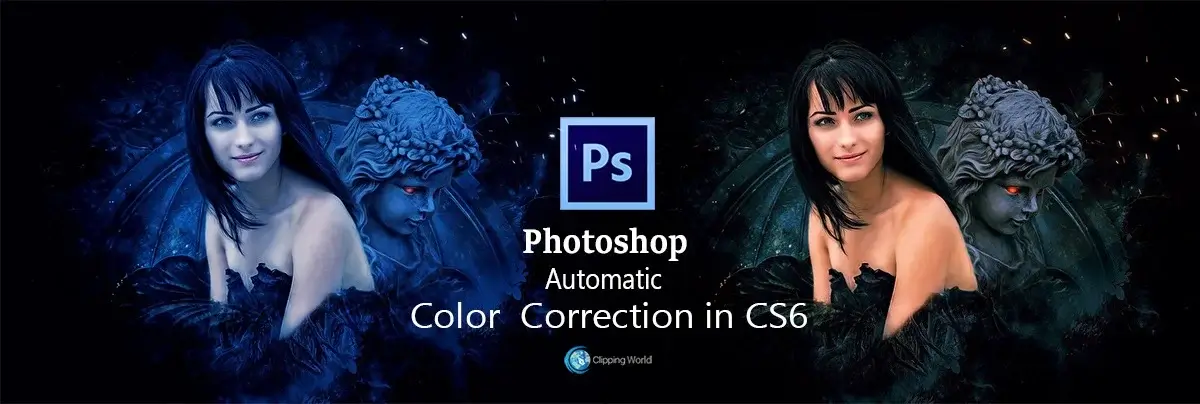
Step 6 — Compare Before & After
With just a few adjustment layers, you can remove unwanted tints and create natural-looking colors. This method is faster than manual correction and works for most images, though professional designers may combine both methods for precise results.
Conclusion — Mastering Automatic Color Correction in Photoshop
Automatic color correction is a powerful tool to quickly improve your images. Practice the steps above to correct tints, enhance natural tones, and save editing time.
If you also work in Lightroom, you can achieve similar enhancements with Lightroom Color Correction techniques, perfect for batch editing or refining skin tones alongside hair color changes
For professional results or bulk photo editing, our team at Clipping World offers expert Photoshop services with unlimited revisions and fast turnaround times. Try our free trial today and experience high-quality color correction for your images!